Client Perspective: Reflections on a Whole House Remodel

NewStudio clients Ben and Lindsey enjoy spending time in their remodeled kitchen because it is centrally located.

We recently caught up with our clients Ben and Lindsey, to find out how they’re enjoying their remodeled lakefront home. We also asked them about their experience taking on a large remodel, and they offered some advice for anyone looking to do the same.

What were you hoping to accomplish with your remodel?
When we moved in, the floors were covered in white carpet and the house felt very formal. We wanted to transform the look and feel of the house, so it aligned more with our social and active lifestyles. We also wanted to keep the exterior unchanged to keep the feel of a cabin in the woods.  

What did you find were the benefits to hiring an architect and interior designer to help you complete this project?
Allowing the professionals to do what they do best helped our vision become a reality without forcing us to make all the small decisions. The interior design team simplified the process for us. They have great vision, and an amazing eye for detail. The fixtures, colors and materials they picked fit perfectly in our space. 

The Lego Room is tucked away behind a bookshelf door.

What advice would you give to someone looking to do a residential remodel of their own?
Find someone who understands you and your needs. We built a great working relationship with Sean, and his team, over the course of the project. In that time, they developed an understanding of what happens during an average day at our house and what it’s like when the boys come home from school and need a quiet space to study, or when we’re hosting guests for dinner, or when fifteen of our friends arrive for a weekend of sailboat racing. Sean developed a plan that works both for our cozy family activities and our large social gatherings. For Sean and his team, it’s not just about moving walls and rearranging the layout, but rather understanding our priorities and our lifestyle. Our best advice is to find someone who is willing to spend time doing that. 

What is your favorite detail that was added in the remodel?
Sorry, we can’t agree on this one! Ben likes the unique wood wall that runs throughout the house, and the different countertop materials in the kitchen. Lindsey enjoys being able to see the lake from almost anywhere in the house. You can stand at the sink and wash dishes with a majestic view of the lake.

Did you find that the addition of a Lego® room and wine cellar have made you want to buy more Legos and wine?
Recently, we’ve been buying more whiskey and Scotches since the wine cellar has become more of a man cave! I suppose it’s been rebranded as a ‘secret multi-use space.’ We have also really enjoyed having a home for the Legos. Before the remodel, we frequently had to warn our guests to watch their step, but now all the Legos are contained in their own secret space, far away from the shoeless feet of our adult friends. 

Where is your favorite place to spend time with family and friends?
The kitchen, because you are always in the middle of the action. 

What part of the house the house brings you the most joy?
Each of us has our own favorite place in the house. For Ben, it is the extended deck. For Lindsey, it is the screen porch. For the boys, it is the secret Lego® room. And for all of us, it changes often—we have lots of favorite places!

A custom spiral staircase leads to a hidden wine cellar.

Quick Tip: Do I need new tile?

Even though this 1930s pink tile is cracked, it is away from any water sources and can safely be left as is.

Don’t have the budget, time, or skill set to retile your bathroom? Good news, you may not need to! While tile can start to wear or look dated after a handful of years, the tile itself is generally resilient. Here are some things to consider when deciding what action needs to be taken.

What material is the tile?

  • Porcelain or ceramic

  • Natural stone – marble, travertine, quartz, granite, etc.

  • Glass, metal, or high sheen materials

Regrout

Porcelain or ceramic can be easily refreshed with a new grout joint. This is an easy DIY task with a little elbow grease. The existing grout (chipped, cracked, missing, etc.) can be chiseled out and replaced while keeping the field tile intact.

Ceramic and porcelain tiles are not porous, so a sealer is not necessary for the tile. Grout will always need a sealer applied. Be sure to refer to the instructions on your grout packaging.

Reseal

Resealing is an option for natural stone and grout. Natural stone is porous, therefore prone to stains. Sediment can seep into the pores if the tile is improperly sealed or is due for a reseal.

If the tile is already stained, products such as liquid stain removers or a paste-like poultice that can help to extract stains out of installed tile.

To prevent future staining, all-natural stone tile and countertops should be sealed upon installation and then resealed every 5-10 years. Always consult the directions on your bottle of sealer. Sealer is applied by putting it on the tile, letting it soak into the pores, then wiping away any excess. It is important to understand that you cannot ‘over seal’ tile leading to damage, just that over sealing leads to a waste in the sealer. When the pores are saturated with the sealer, no additional sealer will ‘fit’…. And neither will the coffee you spill on the floor. 

Recolor

You can replace grout surrounding glass tile, but glass tile is more fragile so the likeliness of chipping the tile is higher. This could be an opportunity to recolor the grout. Grout paints, or similar, are available to rejuvenate the look of your grout. Many times, they also act as a sealer. Recoloring products can be used with porcelain and ceramic tiles as well. Natural stone should be more carefully considered as some colors may stain the tile.

This cracked tile is located along a shower wall where moisture might seep through. Because of the potential for mold to form behind the tile, or damage to occur to the underlayment, this tile should be replaced.

What if my tile is damaged?

Cracked or chipped tile should be examined on a case by case basis. If the edge of the tile is chipped, it may be easy to add grout into the gap, making the grout line a little wider.

 If the tile is cracked and installed in a wet area (shower or bath surround), consider replacing it if possible. Cracked tile can allow moisture to seep through, creating patches of mold behind the tile or damaging the underlayment.

If the cracked or chipped tile is in a dry area, it may be okay to let it be until all tile is replaced.

Maintenance and Prevention

While tile is durable, care should be taken when cleaning it. Acidic cleaners should be avoided for polished natural stone, as this strips the polish.

Product We Love: Polycarbonate

Interior view of Terrain Cafe at Devon Yard.

On a recent project, NewStudio was asked to provide a greenhouse feel to a restaurant space—something light, warm, and airy. Typically, greenhouse roofs use a material called polycarbonate. Polycarbonate is essentially a very strong plastic material that can be easily manipulated into varying shapes, colors, and transparencies. Aside from greenhouse roofs, polycarbonate has many applications including eyeglass lenses, bottles, and car bumpers. Fun fact, polycarbonate was originally created by the aerospace industry, and was used for astronauts' visors.

Aerial view of Devon Yard lifestyle center.

One of the challenges of designing a restaurant space that feels like a greenhouse, is that a restaurant has very different energy requirements. The majority of a building’s heat energy is lost through the roof, so if you are designing a space where the roof is virtually one large window, imagine how much heat will escape.

Exterior view of Terrain Cafe at Devon Yard.

With energy management in mind, we researched polycarbonate roof systems—assemblies with both energy-effective polycarbonate panels and appropriate framing. We discovered a product by CPI Daylighting called Quadwall®, which is a two-panel skylight system. Think of it as a double-glazed window you might find in your home but made of plastic. The product enabled us to achieve a high level of building energy performance while providing glare-free, diffused natural daylight to anyone inside the space.

The Craft of Surveying Buildings

Archeologists go on digs and recover artifacts, as they study patterns of human behavior. Studying the archeology of a building is how you might describe the process of an “architectural survey.” Over the last eight years the team at NewStudio Architecture has completed over 300 architectural surveys. I think our clients would agree that surveying is something NewStudio is very good at doing.

site survey by NewStudio Architecture

Sometimes, a survey is a simple, straightforward process. This is especially the case for newer buildings with good, existing documentation. In this situation, we’re usually verifying “actual conditions” for an owner, contractor, and/or future tenant. We do this by carefully measuring and photographing a building (or space inside a larger building) and documenting the building structure, HVAC and electrical equipment, and millwork. This information which might be conveyed by drawings and/or 3D electronic models, is very useful to a building owner, landlord, contractor, tenant, bank, or insurance company.

For older, or historic buildings, or buildings with an extensive history of remodels and additions, the process is one of discovery, especially if architectural plans for the project don’t already exist. In addition to our on-site “detective work,” we may be visiting local historical collections, libraries, or corporate archives to uncover and reveal the “story” of a building, the way in which it was constructed, how it was taken care of, and how the building evolved and adapted to changes in use and occupancy.

NewStudio staff use a tape measure on a building exterior at a site survey.

In addition, for clients thinking of renovating an existing space, or adding on, we gather information from the local zoning and building departments, to provide a full picture of the regulatory process that exists for a property, before an owner even starts a project. This is the kind of “roadmap” you want in place for a successful project.

At the end of the day, we utilize many resources to paint a clear, and as accurate as possible, portrait of an existing space or building for our clients to use in pre-purchase/lease negotiations, as well as a baseline of information for design and construction projects to minimize conflicts and speed up the construction process; or in compliance and legal proceedings.

And, if you’re wondering… no space is too large or too small to be surveyed… from a basement to a boathouse to a warehouse.

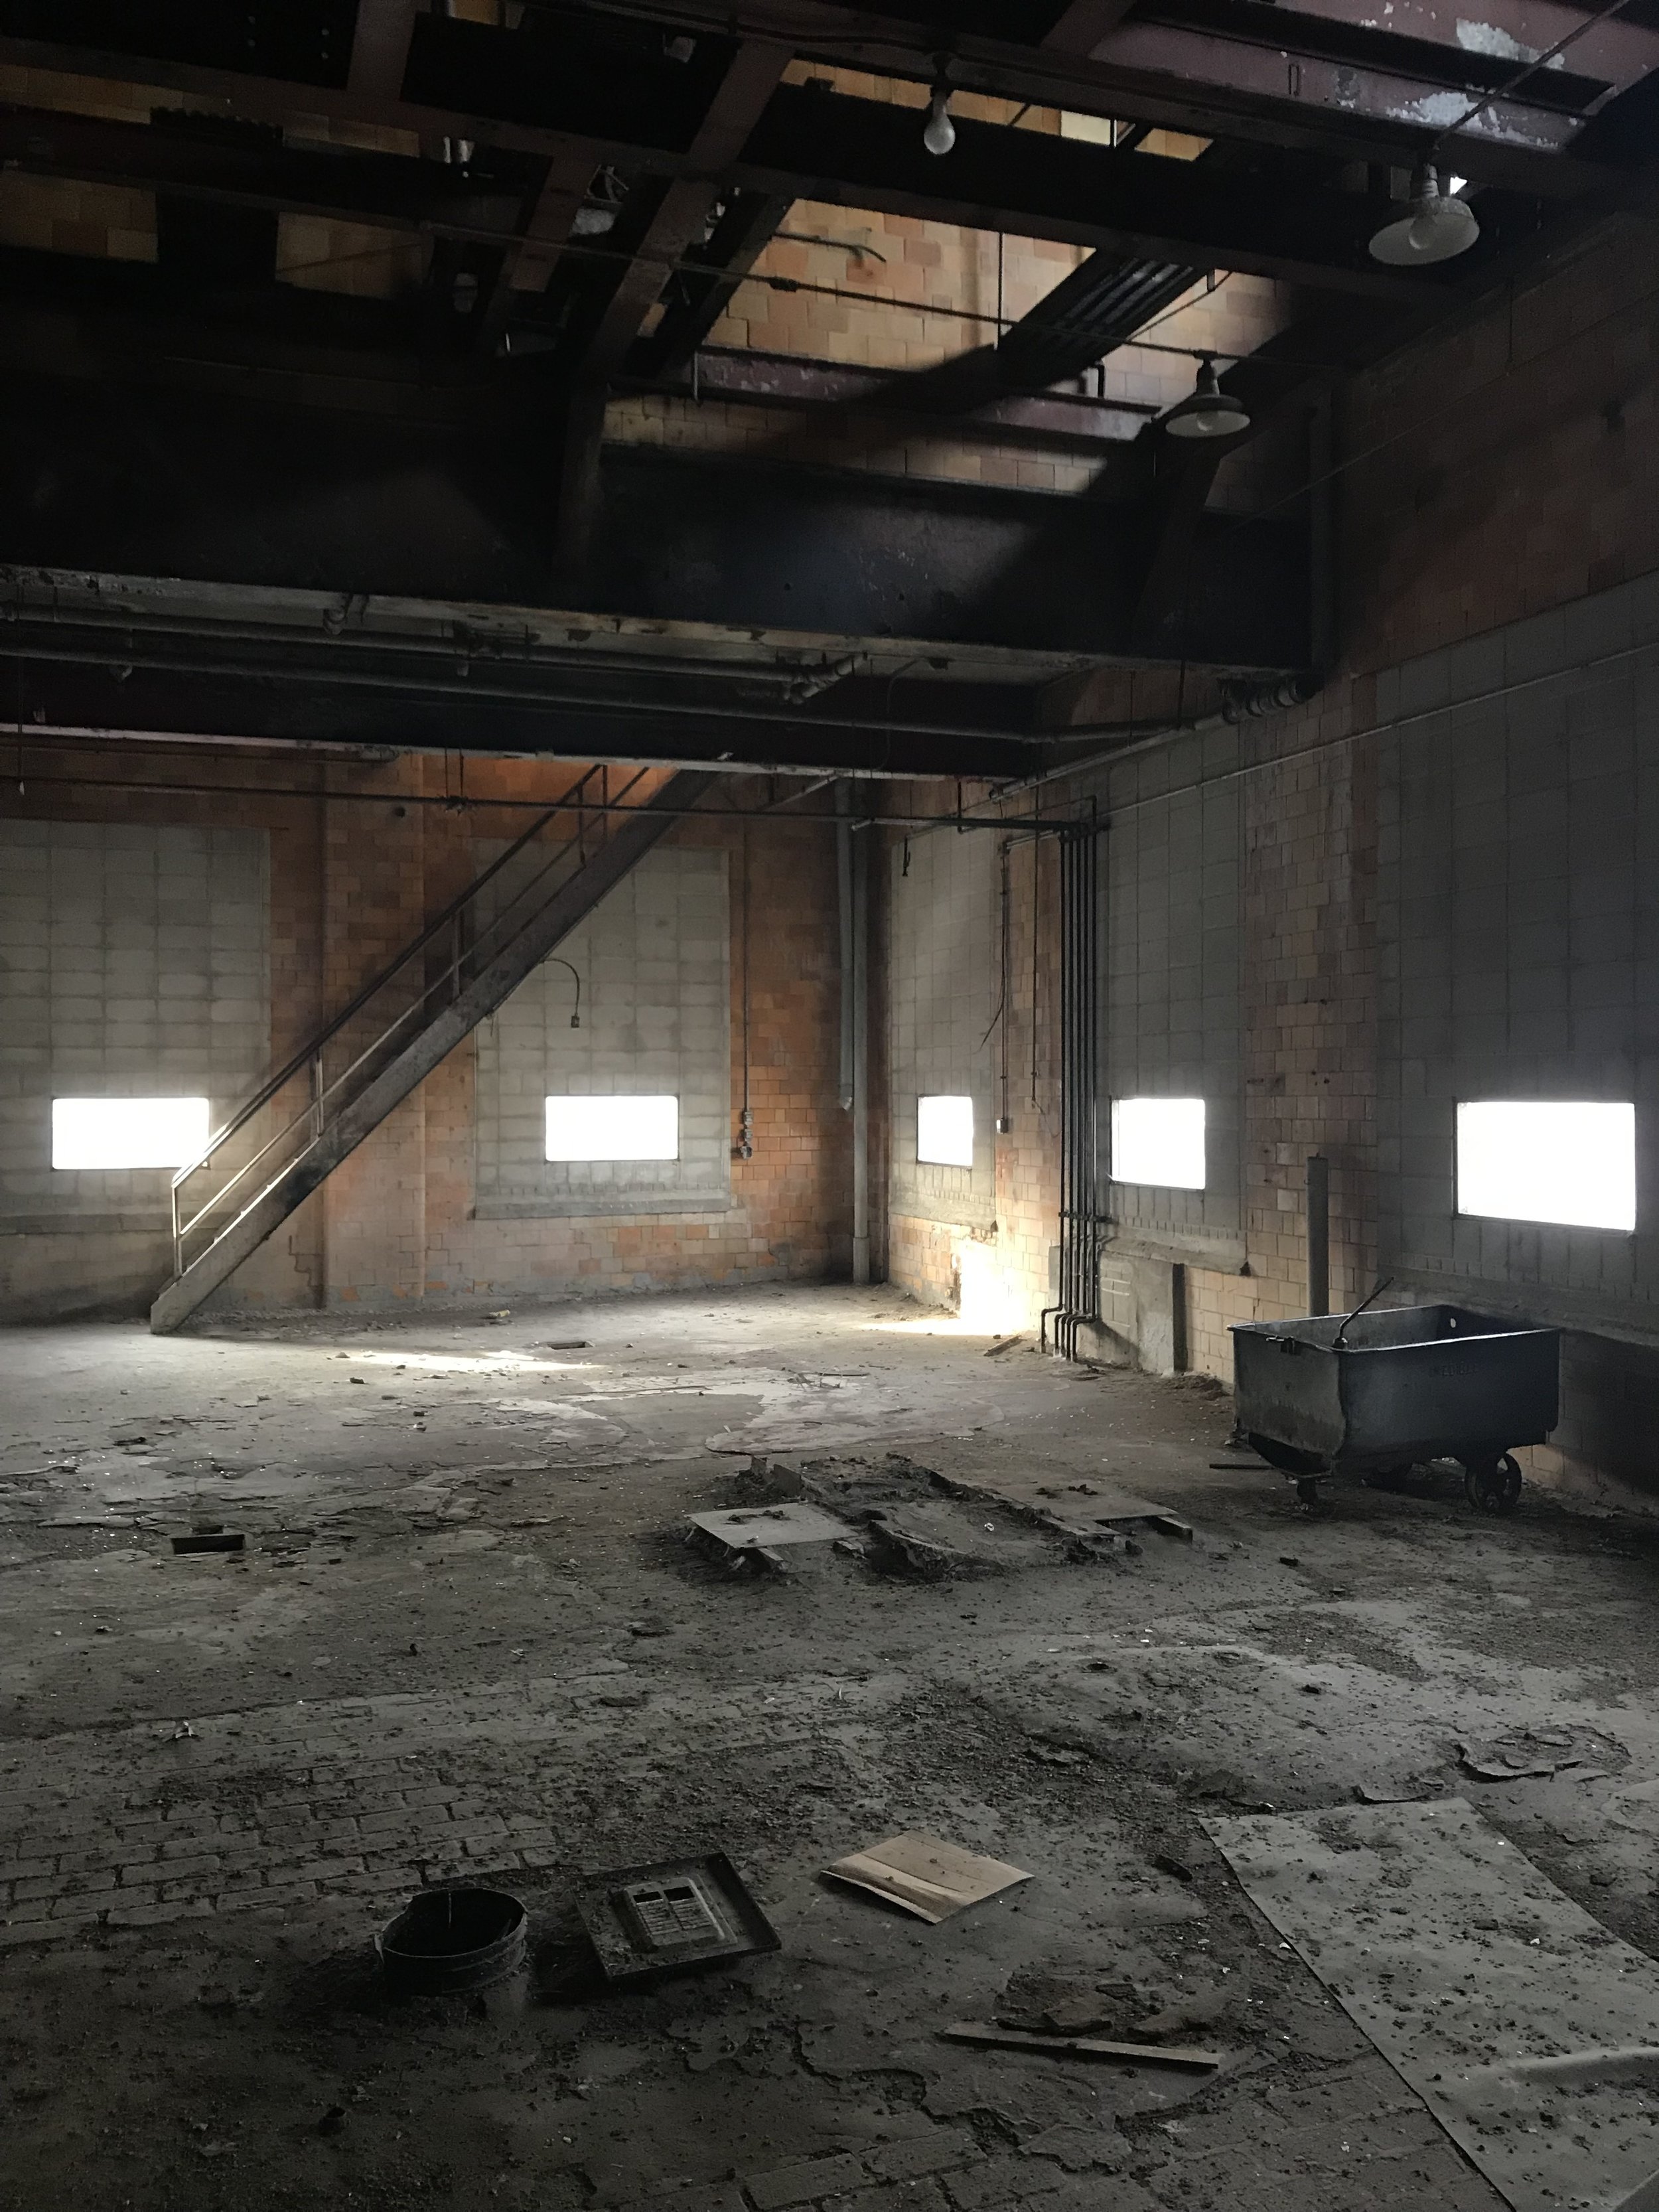
Recently I did a Q&A with one of NewStudio’s experts in surveying, Dave Dammar, to learn about his experience in this craft. He had just returned from surveying an over 81,000 square foot building on a historic US Navy Yard.

Q: How many surveys have you done? How many cities have you traveled to?
A: I would say I’ve done about 28 surveys in 18 different cities with NewStudio.

Q: What tools do you use the most on a survey?
A: Camera, iPad Pro with Apple Pencil, laser, and tape. And, sometimes a drone.

Q: How long do surveys usually take?
A: Depending on size, most are done in 1 working day, some do take more.

Q: First step (or steps) to any survey you go on?
A: Find out if the space is currently being used (e.g., as a retail space that has store hours), and if there’s a schedule I’ll have to work around. Then I can coordinate the dates, times, and locations with all involved with the survey. Many of our surveys are out of the state of Minnesota… so next up is finding flights, ground transportation, hotel, etc.

Q: What do you do before you leave the office to get prepared/organized/ready?
A: To prepare for a survey, I study any existing documentation we have available and locate the space in Google Maps and Google Street View. And, I always make sure I have batteries charged for all the equipment that’s coming along!

Q: What about when you arrive in the city or location you are headed to? How do you get started? What’s usually the very first thing you like to do?
A: Find my transportation, map directions to the site, and grab something to eat on the way. Also, of course, I contact whoever I might be meeting at the space to let them know my ETA.

Q: Talk about the process and the steps you go through.
A: I begin by walking through the entire space, usually with the building manager, asking questions about access to all related spaces like gas and electric, and the roof. I’ll need access to everything so that I’ll be able to document everything fully. I also gather more general information about the space, and for example, any landlord or property requirements that might exist.

The walk-through is followed by a photo walk-through where I document the overall space in pictures. And, following the photo documentation, I study any existing drawings and compare, and update them, to show changes and current conditions.

Once I have a complete plan, I usually start at the front of the space and work my way to the back, writing in all dimensions as I go, including heights and ceiling elements. I’ll take pictures of unusual or detailed elements. I always end with one more walk-through to make certain nothing has been missed.

Q: What do you enjoy about surveys?
A: The history of the buildings, seeing behind the scenes and the places that people don’t go, and finding out why something is the way it is. It’s great learning the story of the space. I also like traveling to new and different places—places I wouldn’t normally visit. And, travel always makes me appreciate coming home.

Q: What’s the worst part of a survey?
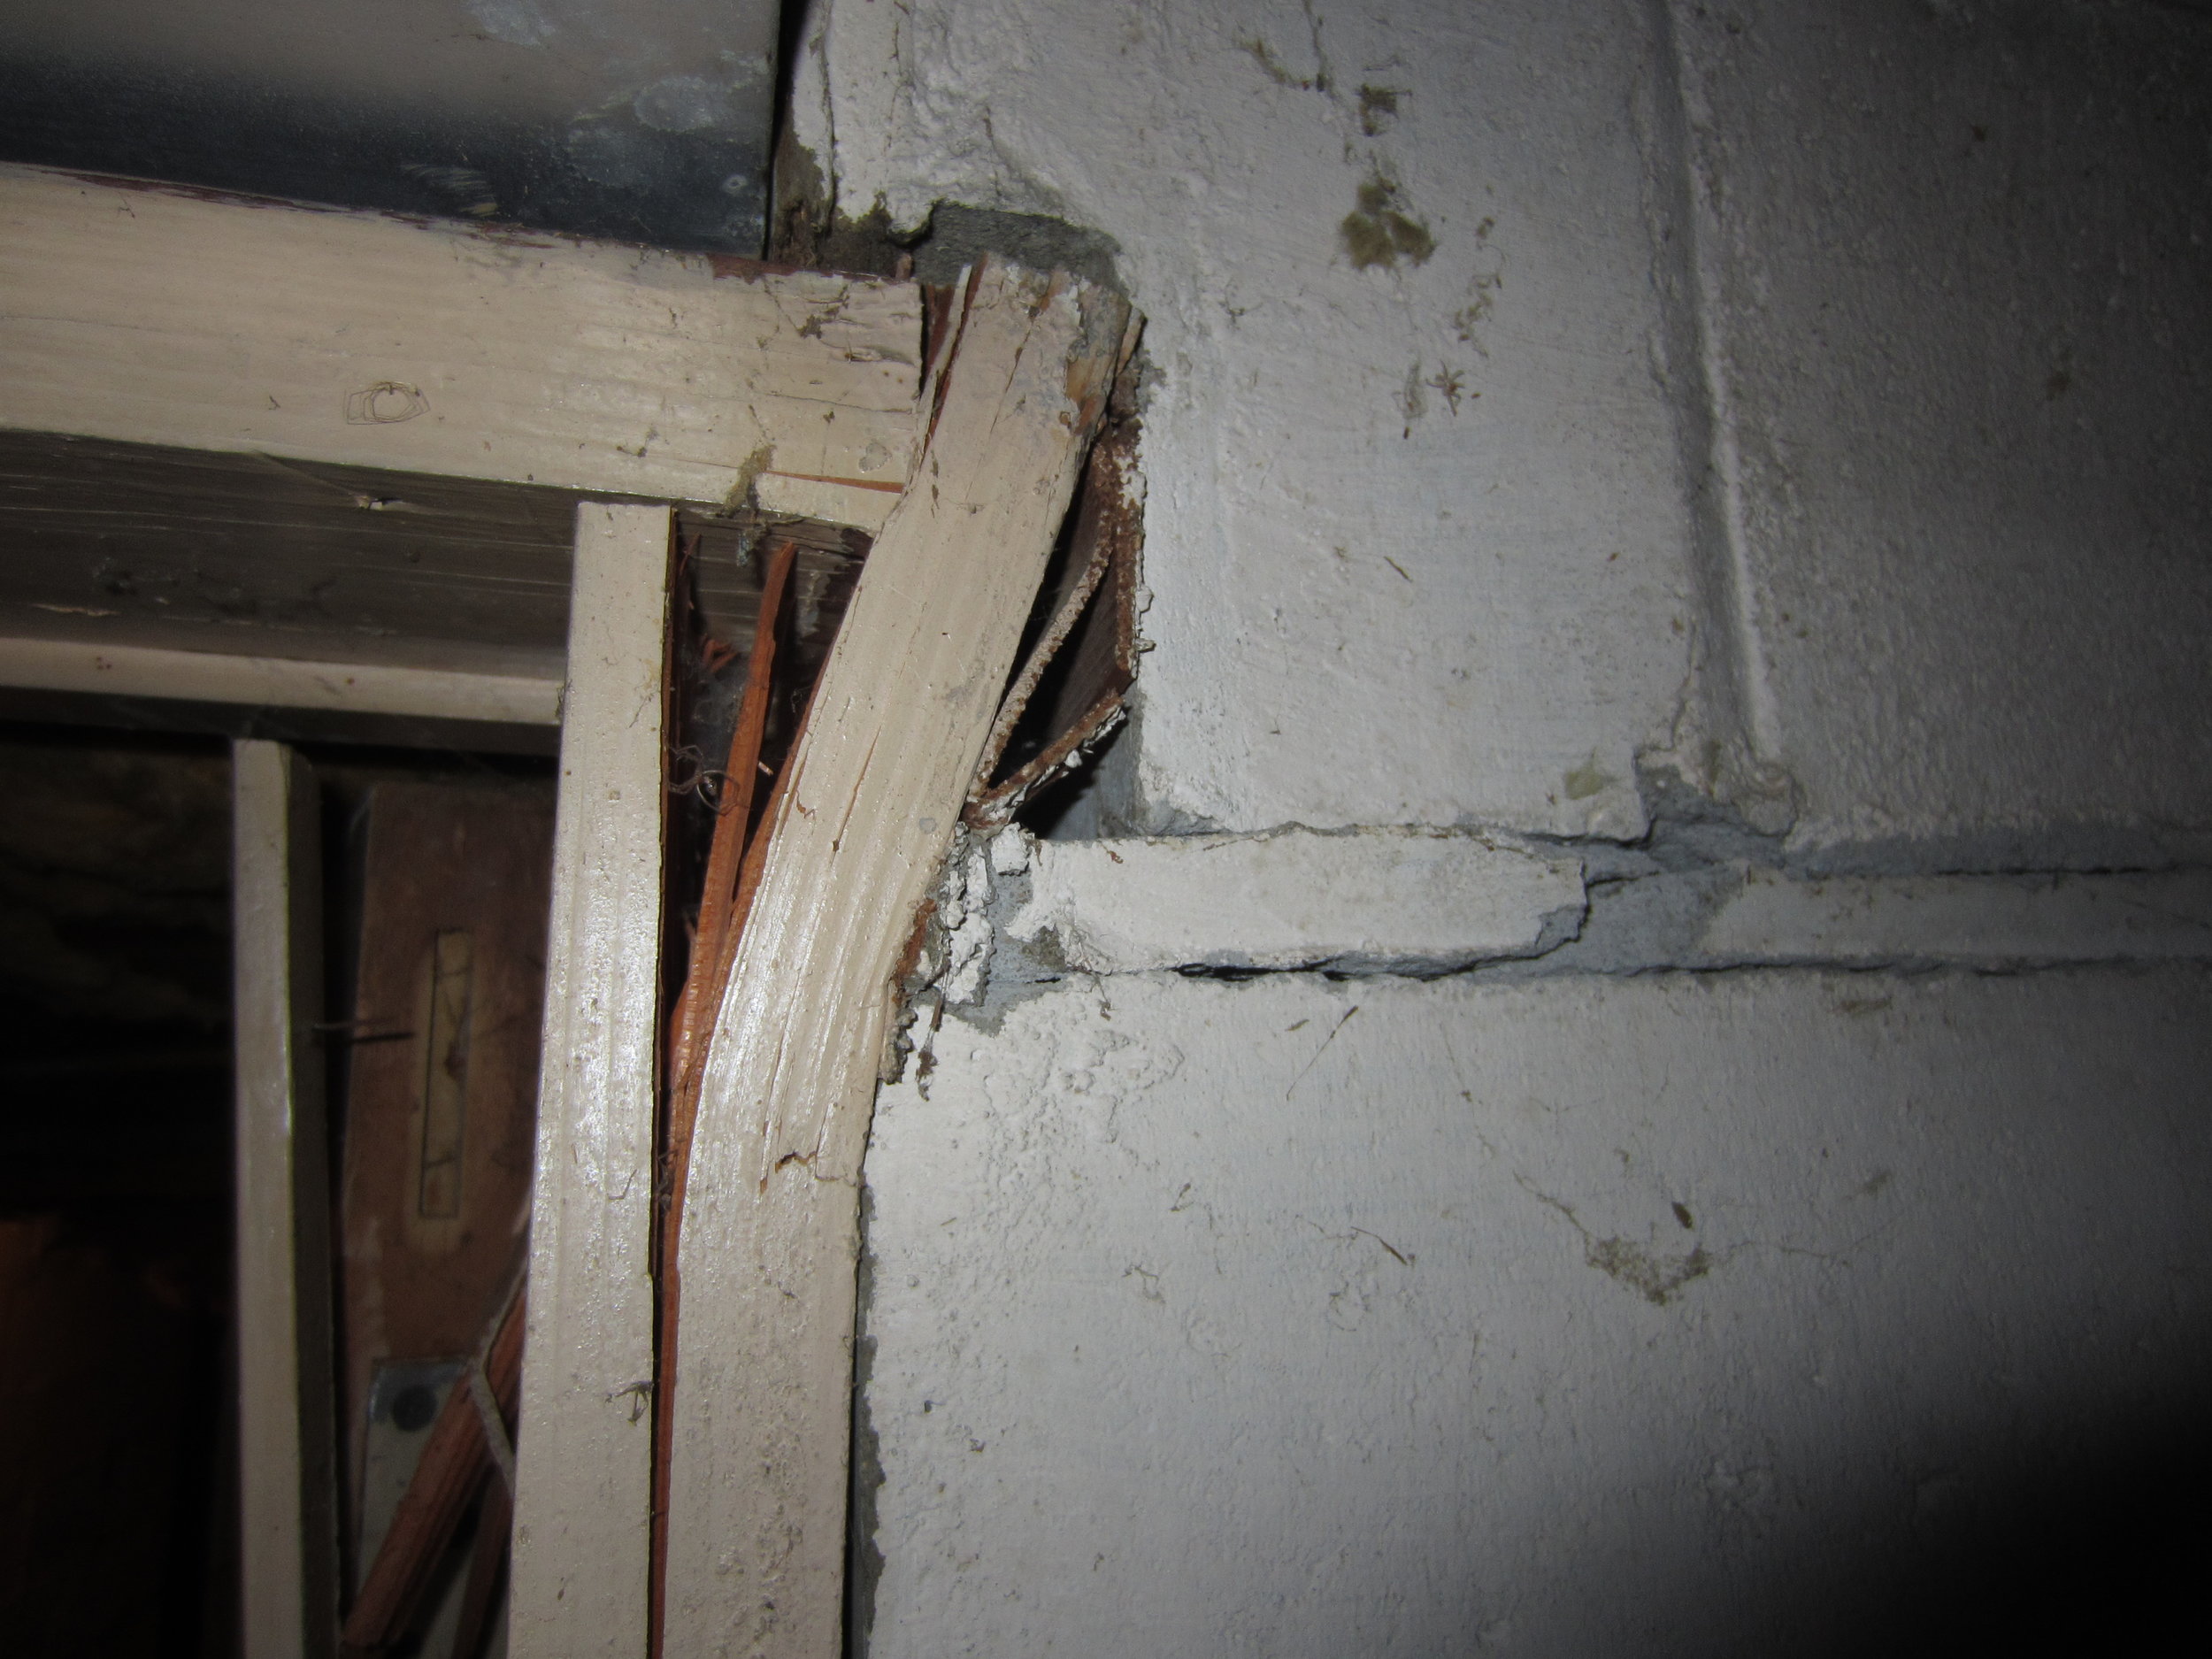
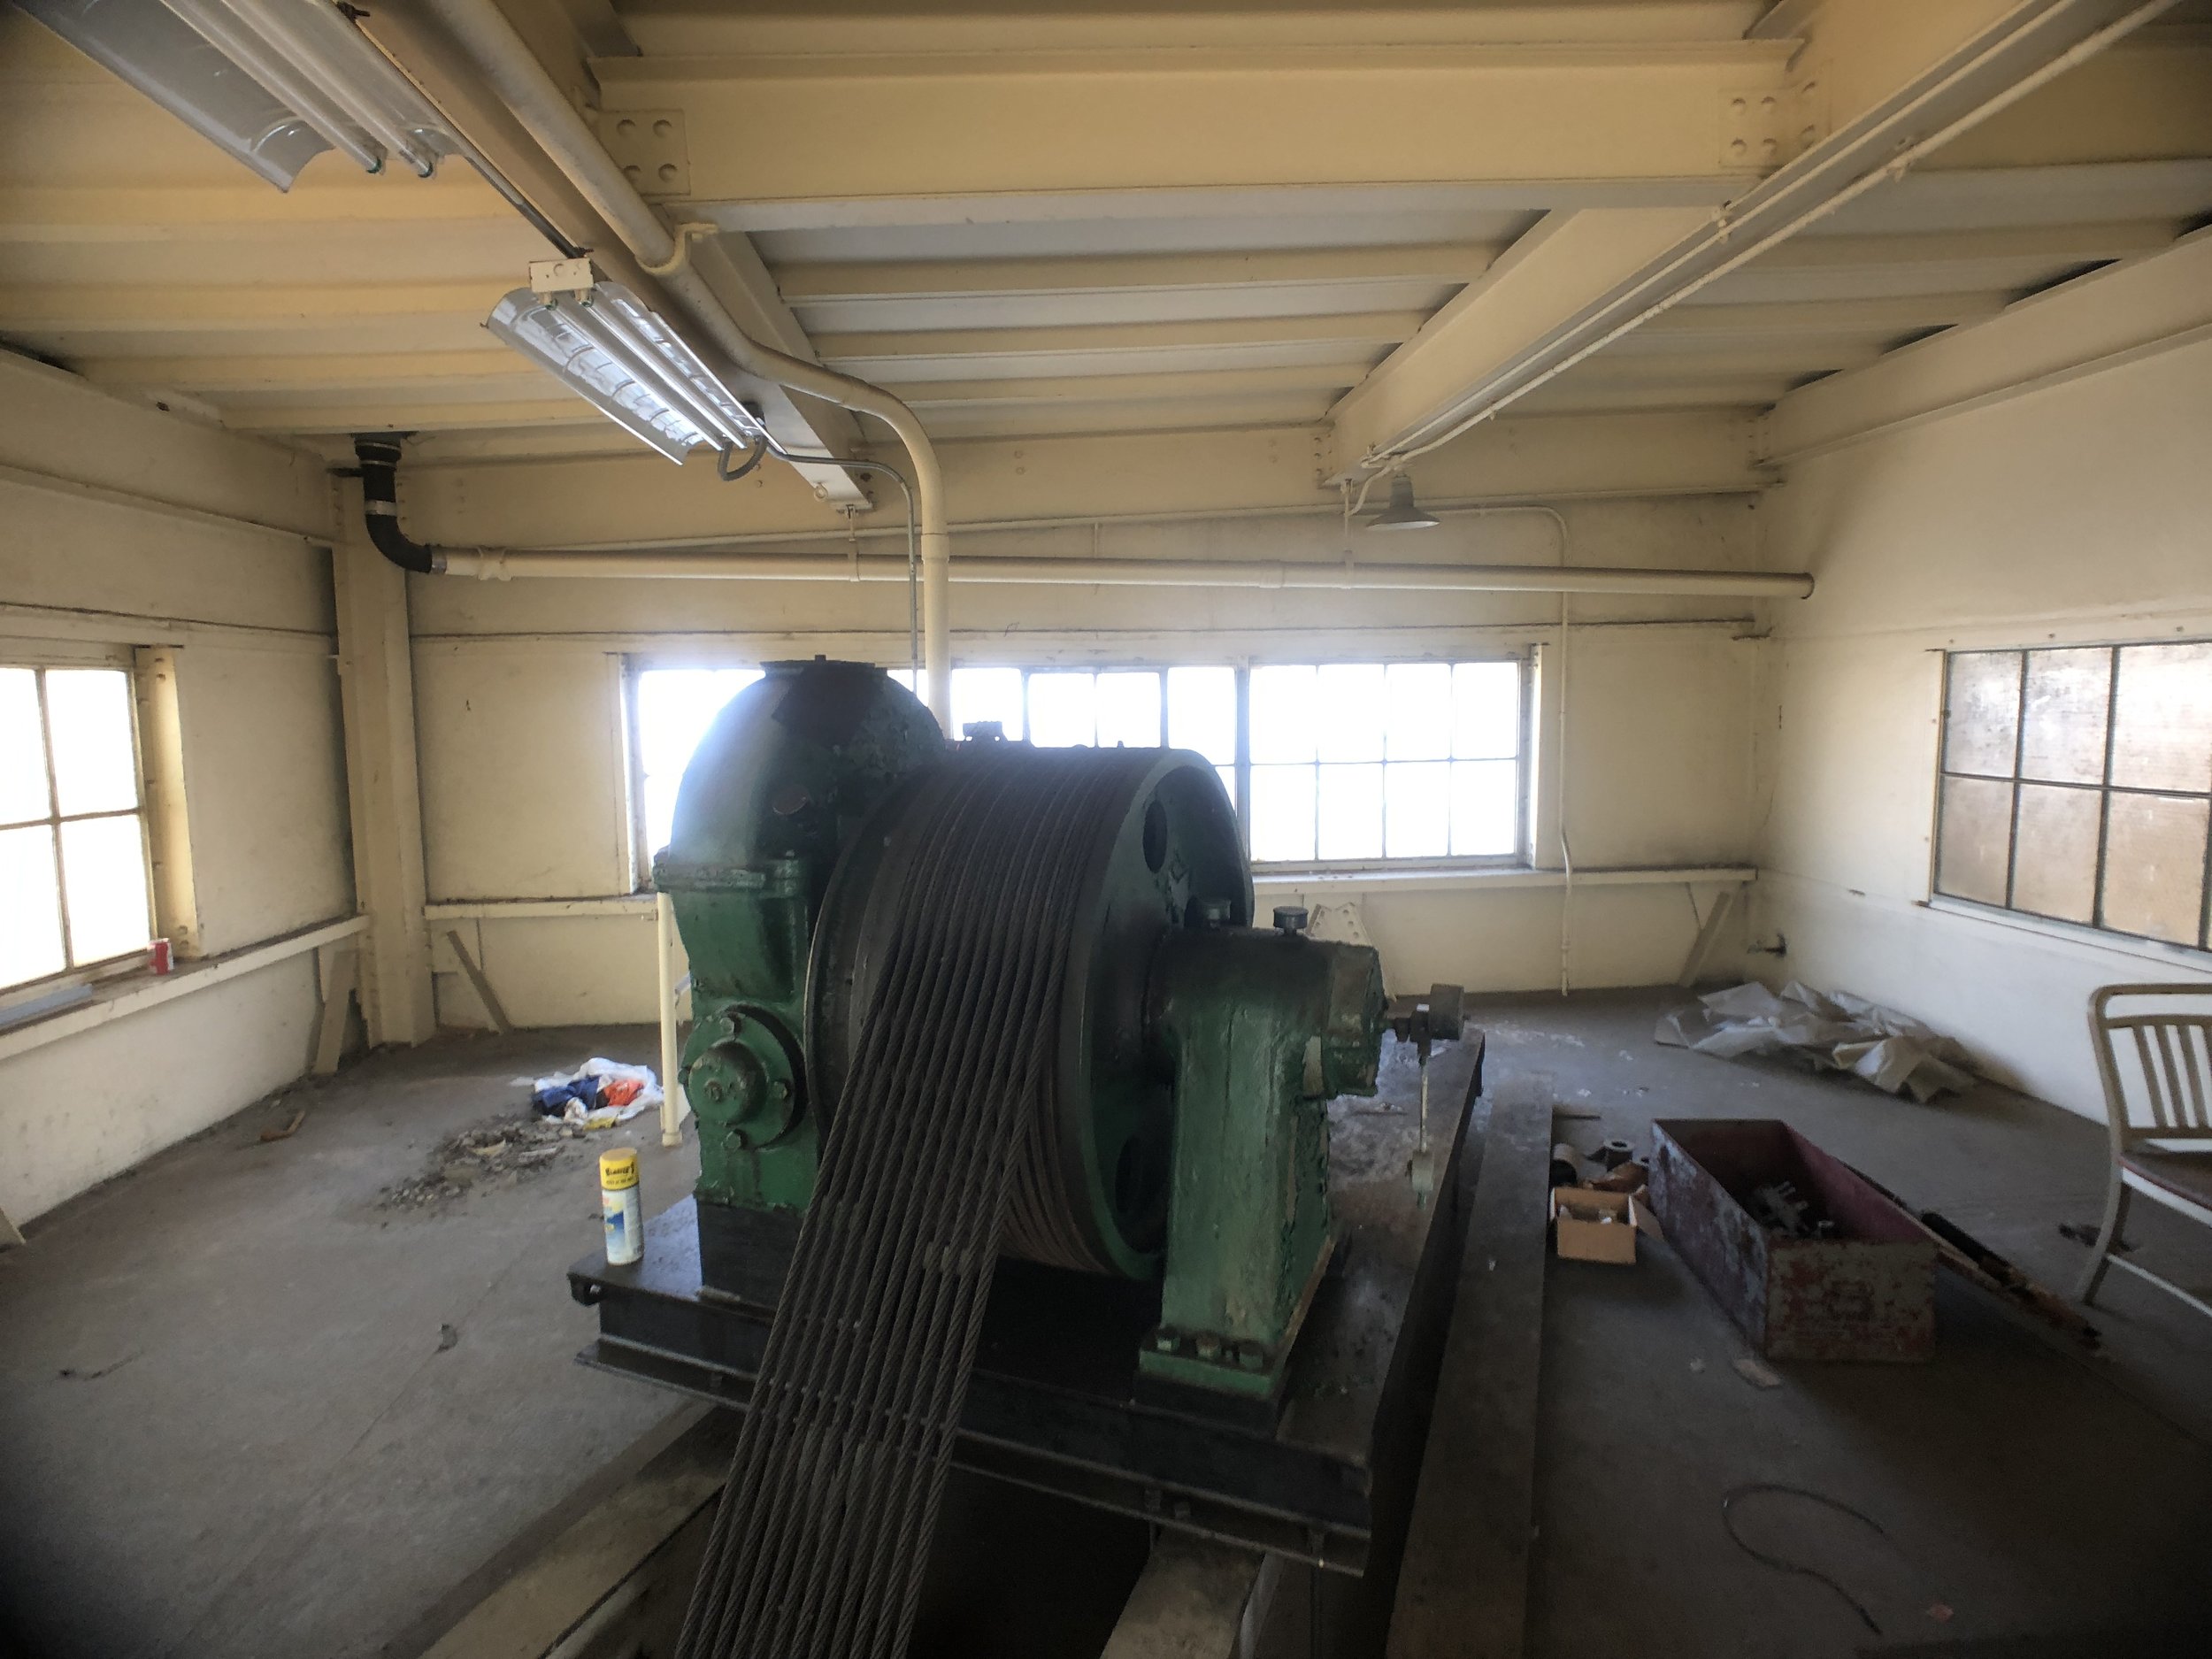
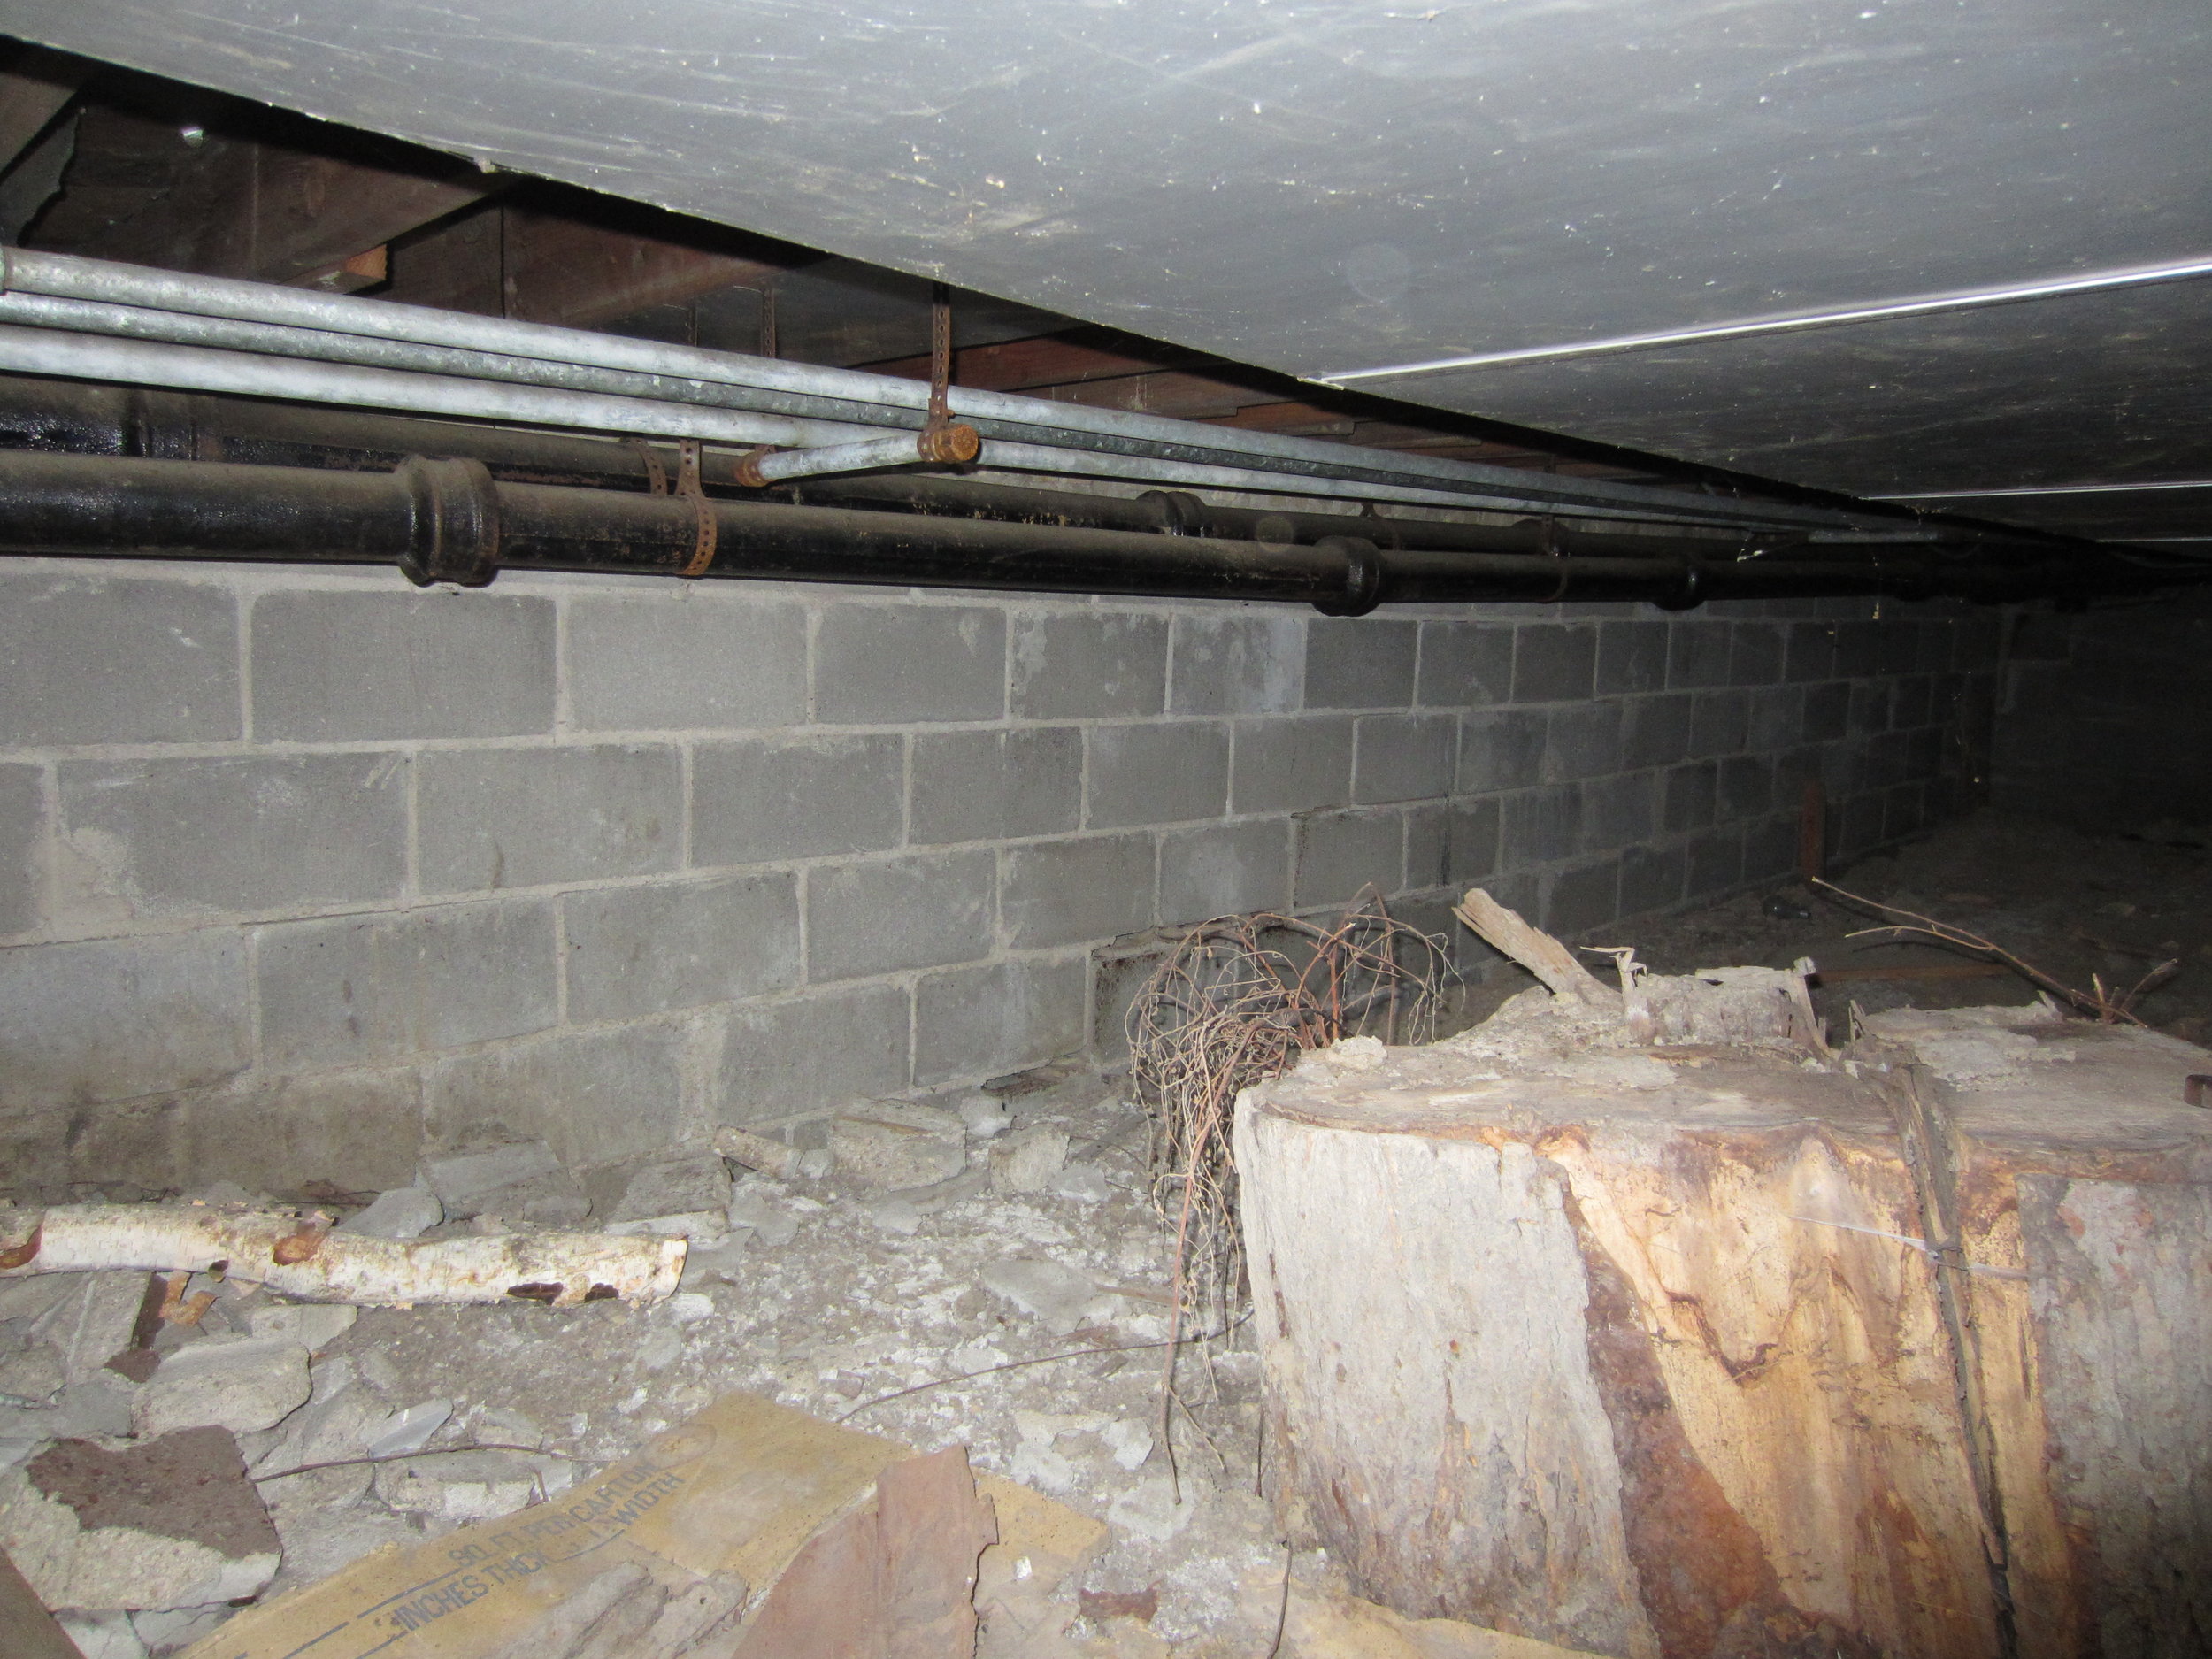
A: Dust and spider webs, dead animals, hornet’s nests, tall bouncy ladders, roof access hatches, and—sometimes it can get pretty hot, as many spaces we survey aren’t air conditioned.

Q: What’s the weirdest thing you’ve found on a site? 
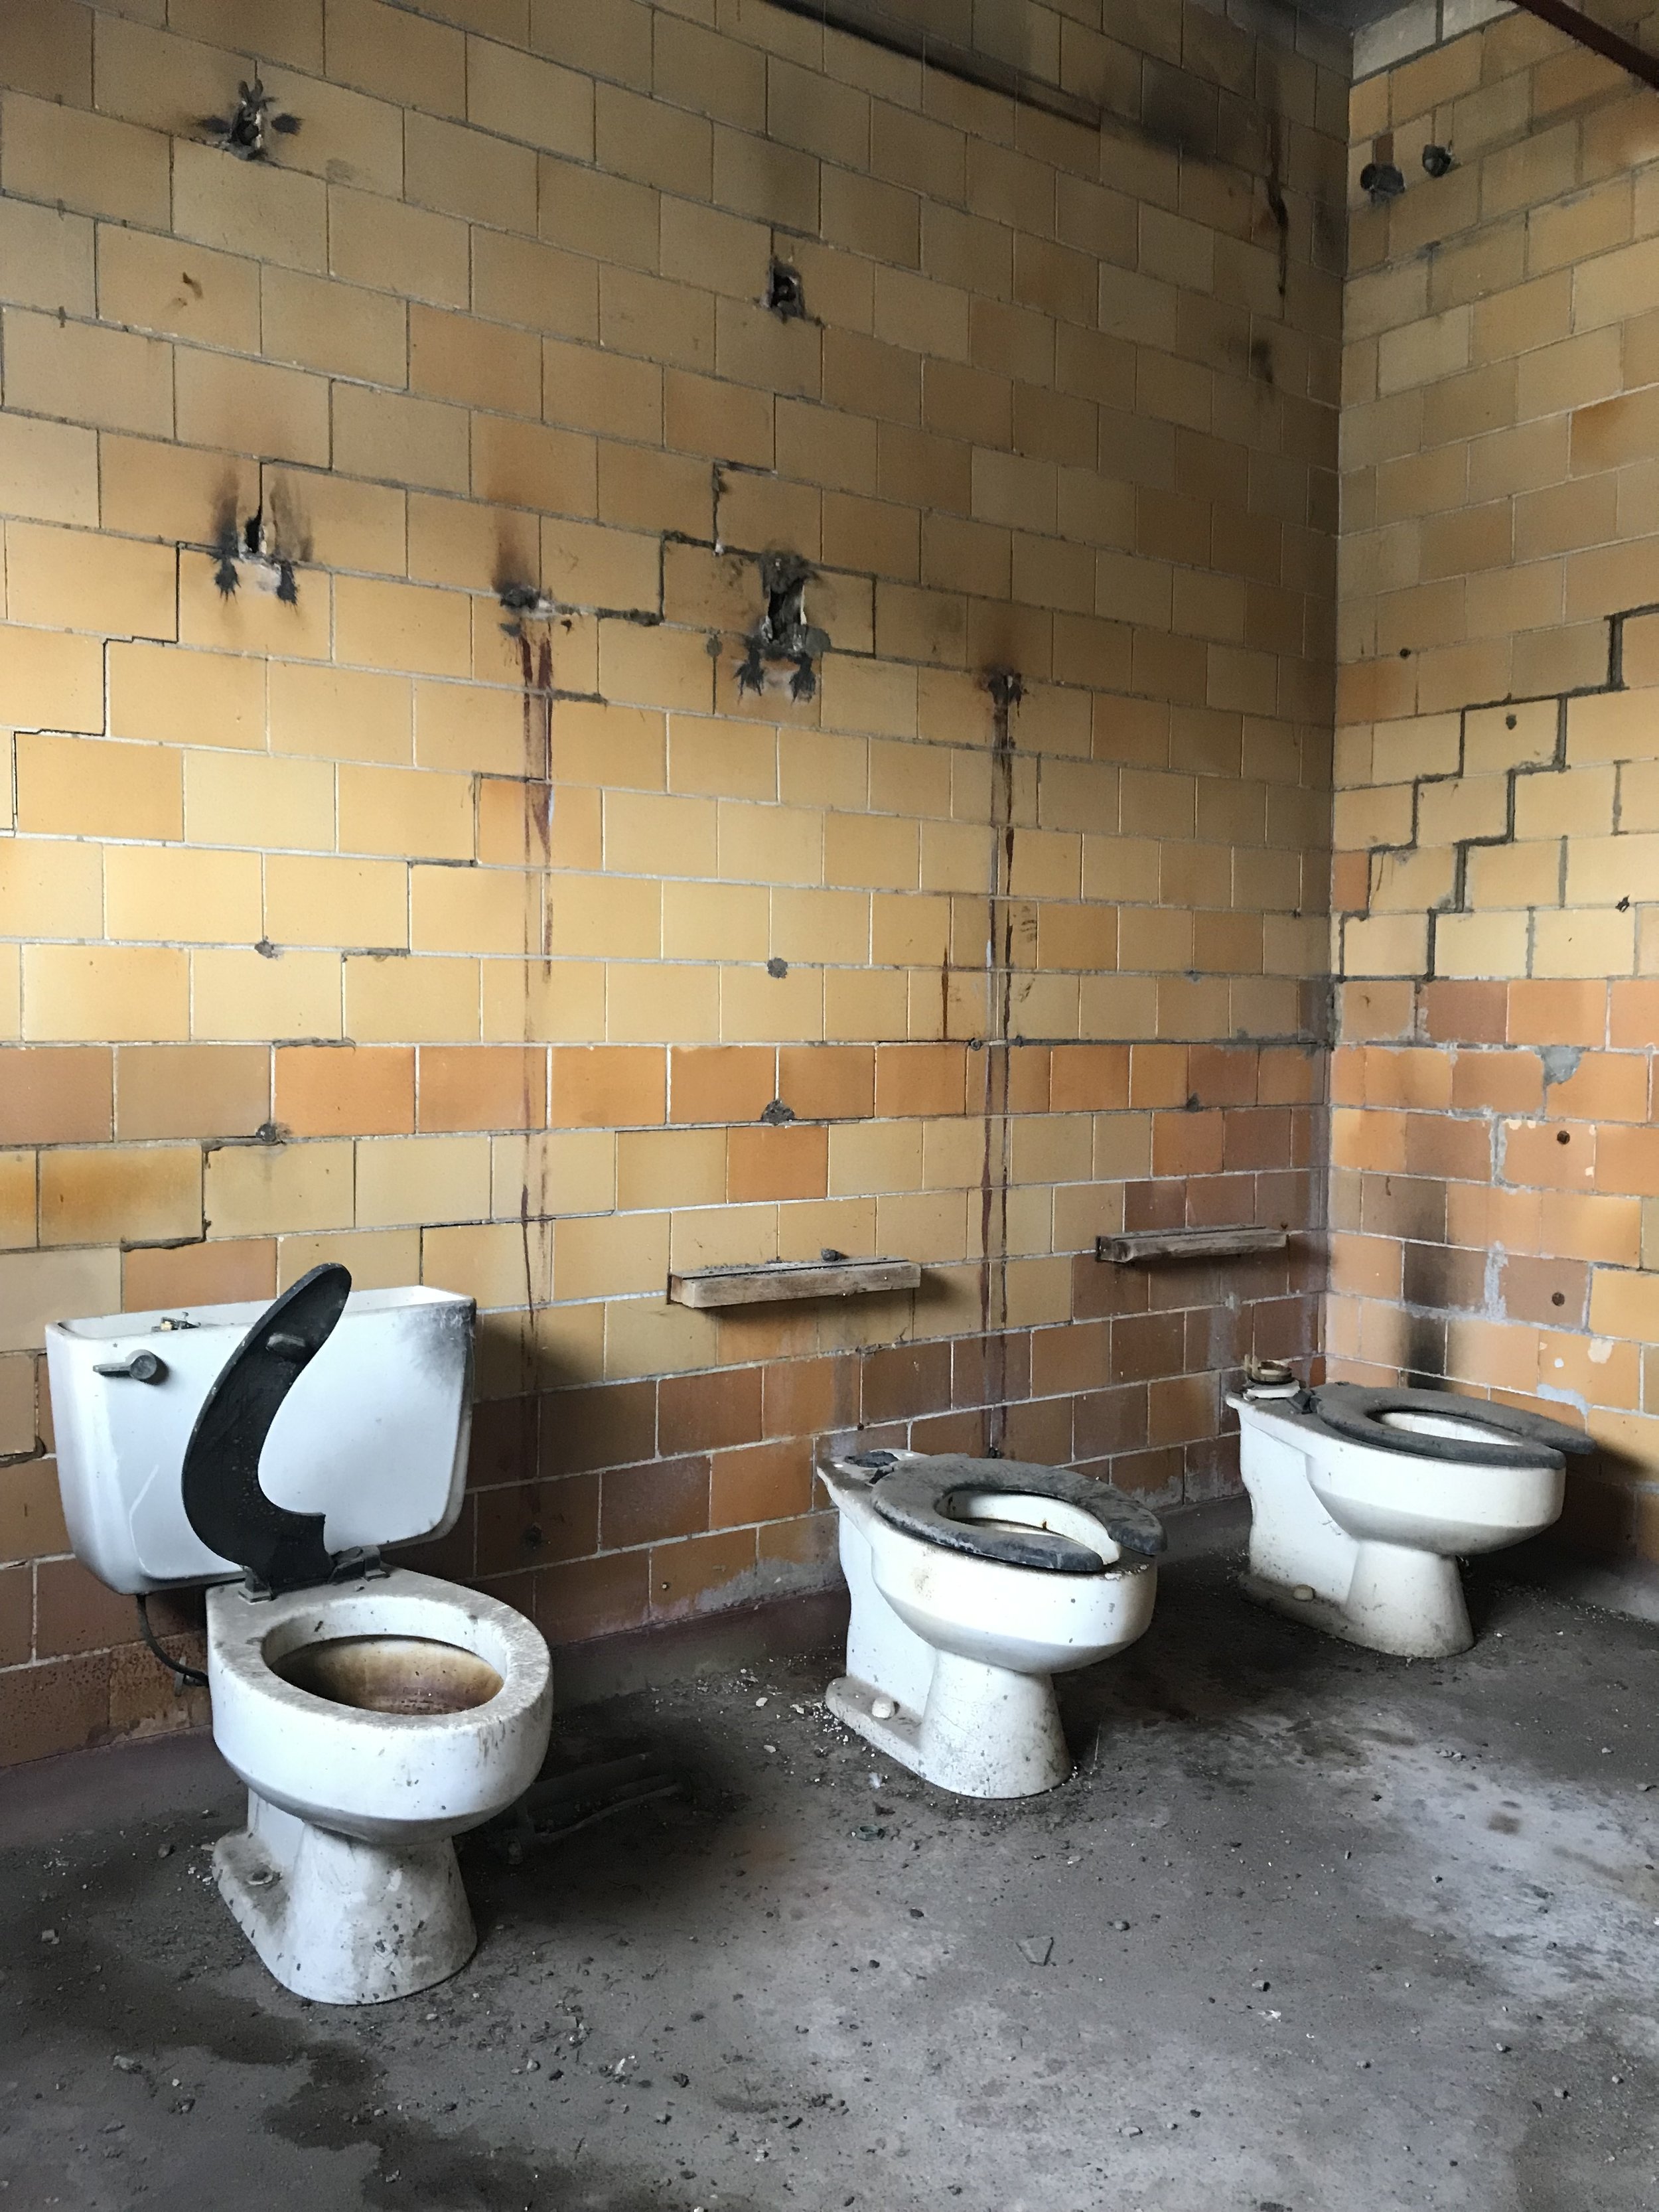
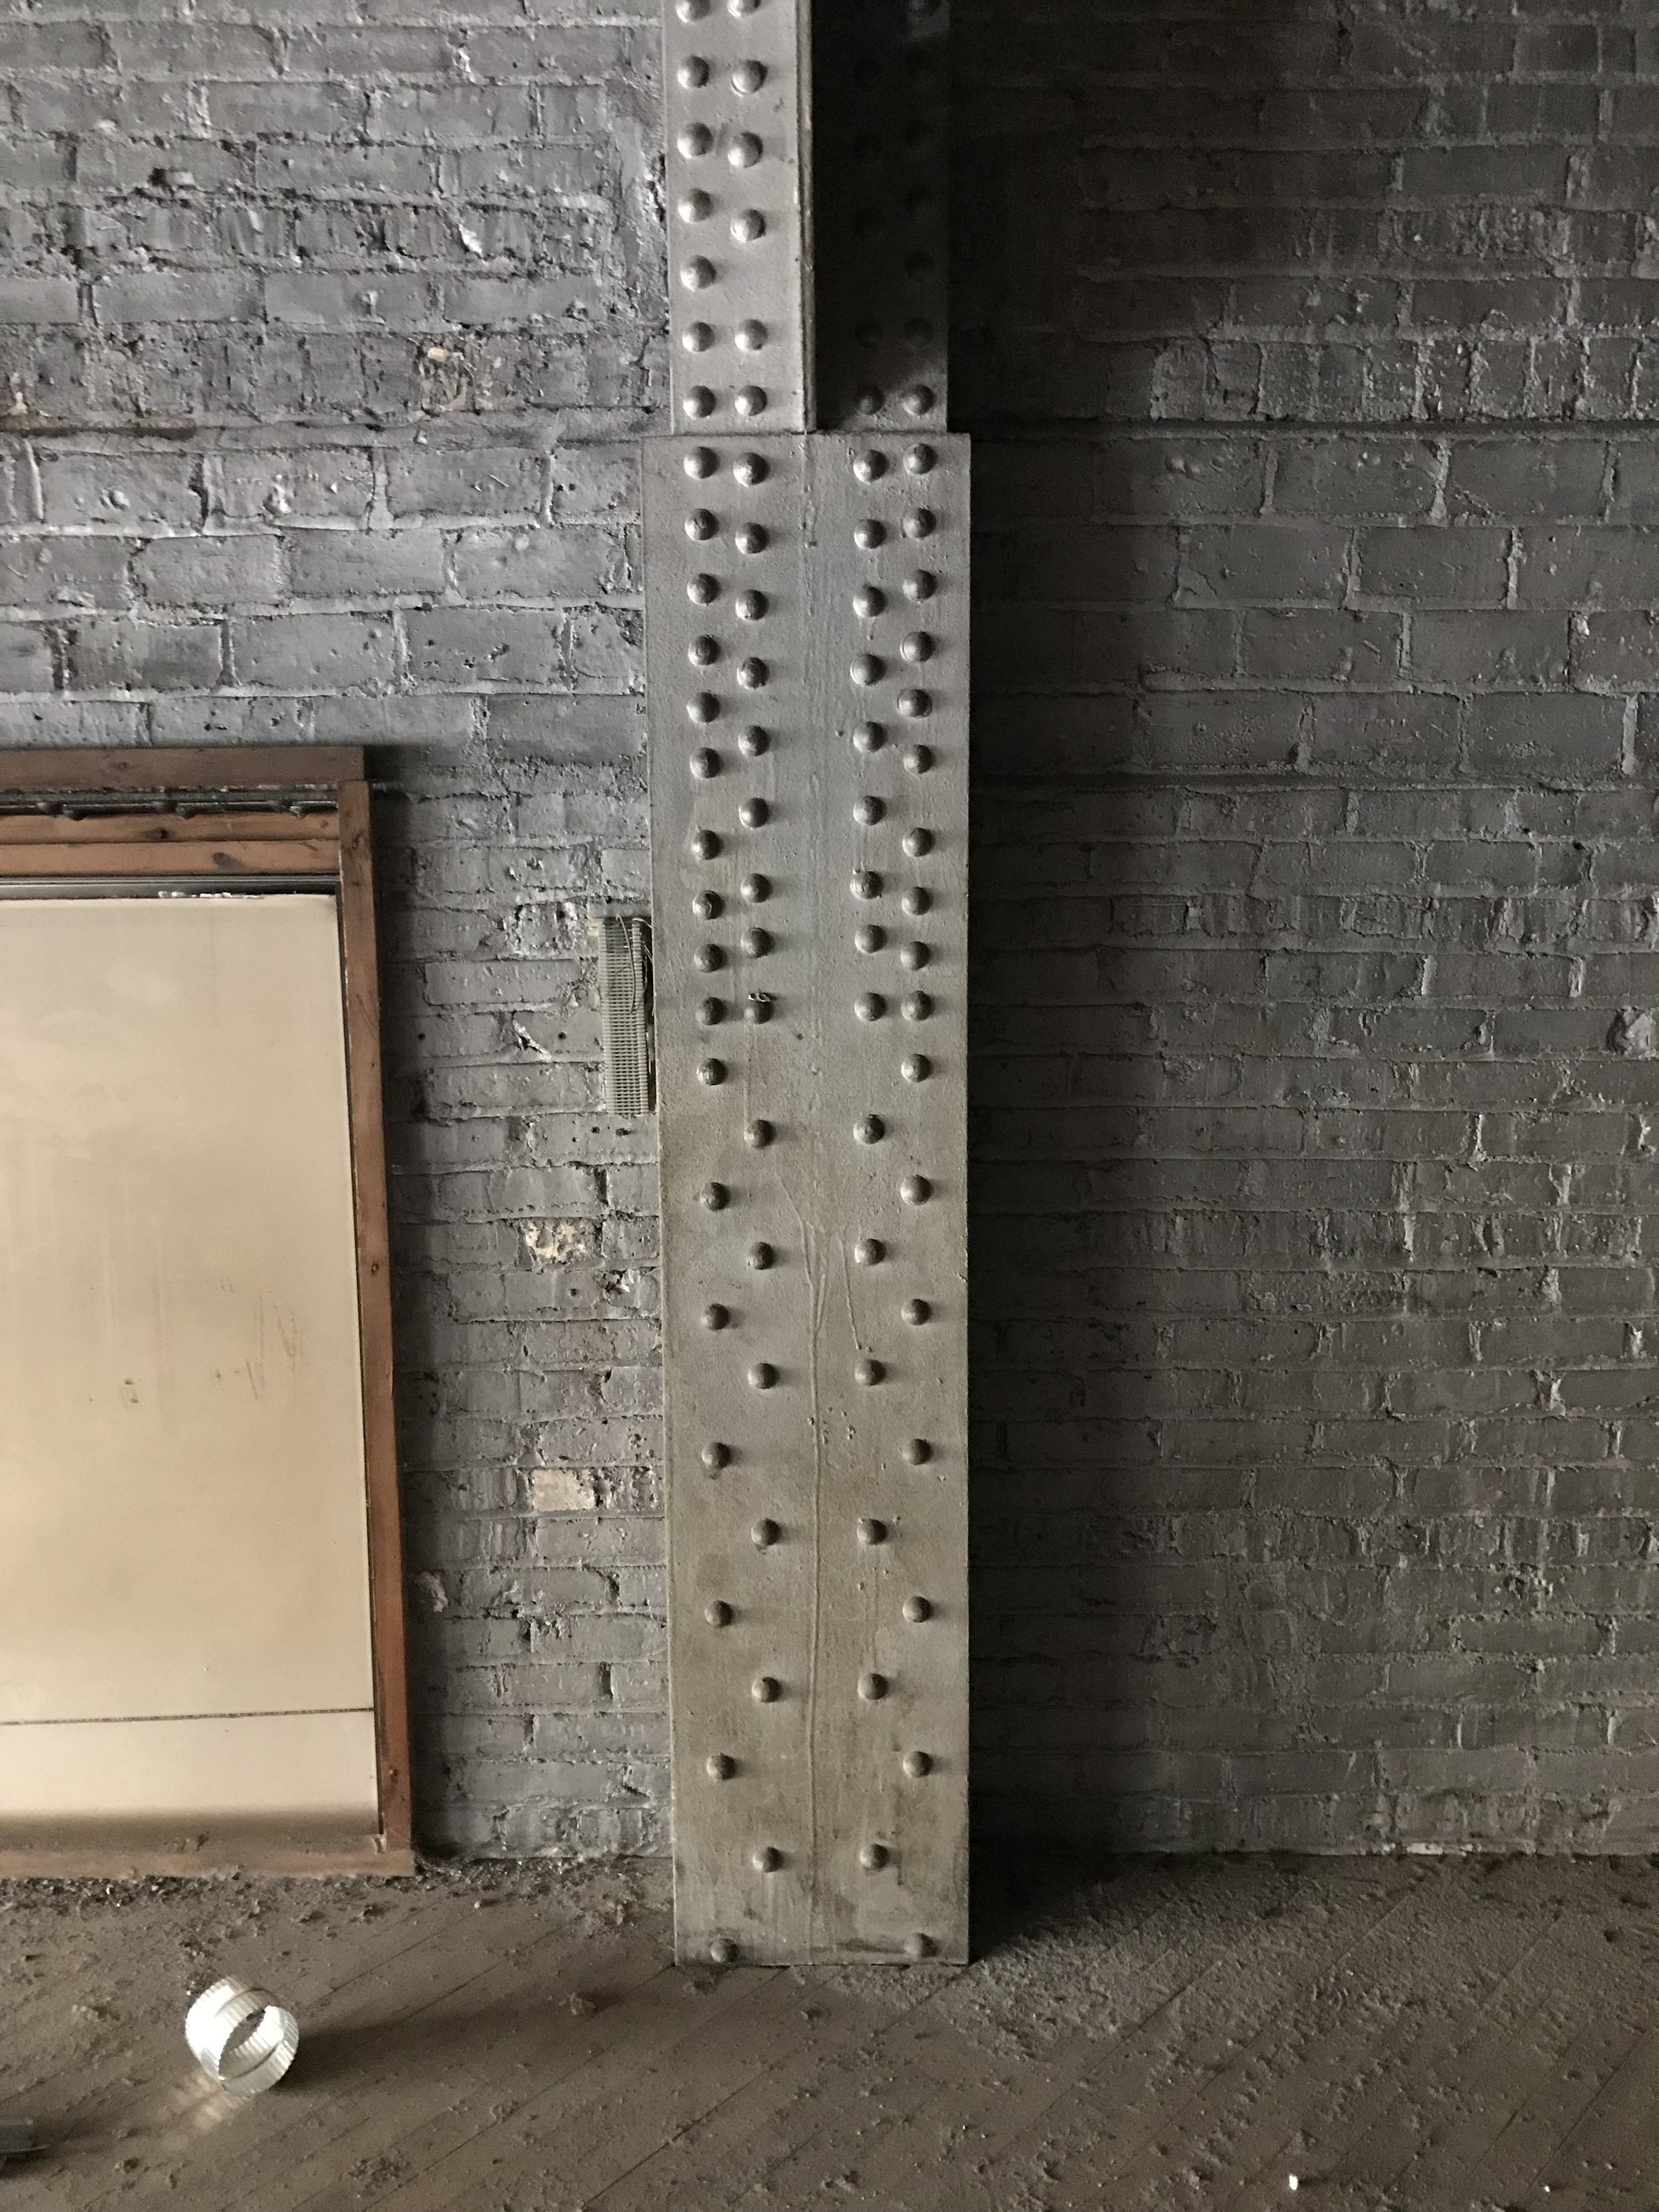
A: Again, it’s usually the animals, dirt, dust, and spider webs. Once a toilet in the middle of a room, another time a sprinkler pipe running through the middle of a duct, and I’ve seen structural columns cut and notched for mechanical ducting, nothing too crazy…

Q: Talk about the size of this building you just returned from surveying. What was different/ unusual/ interesting about this survey?
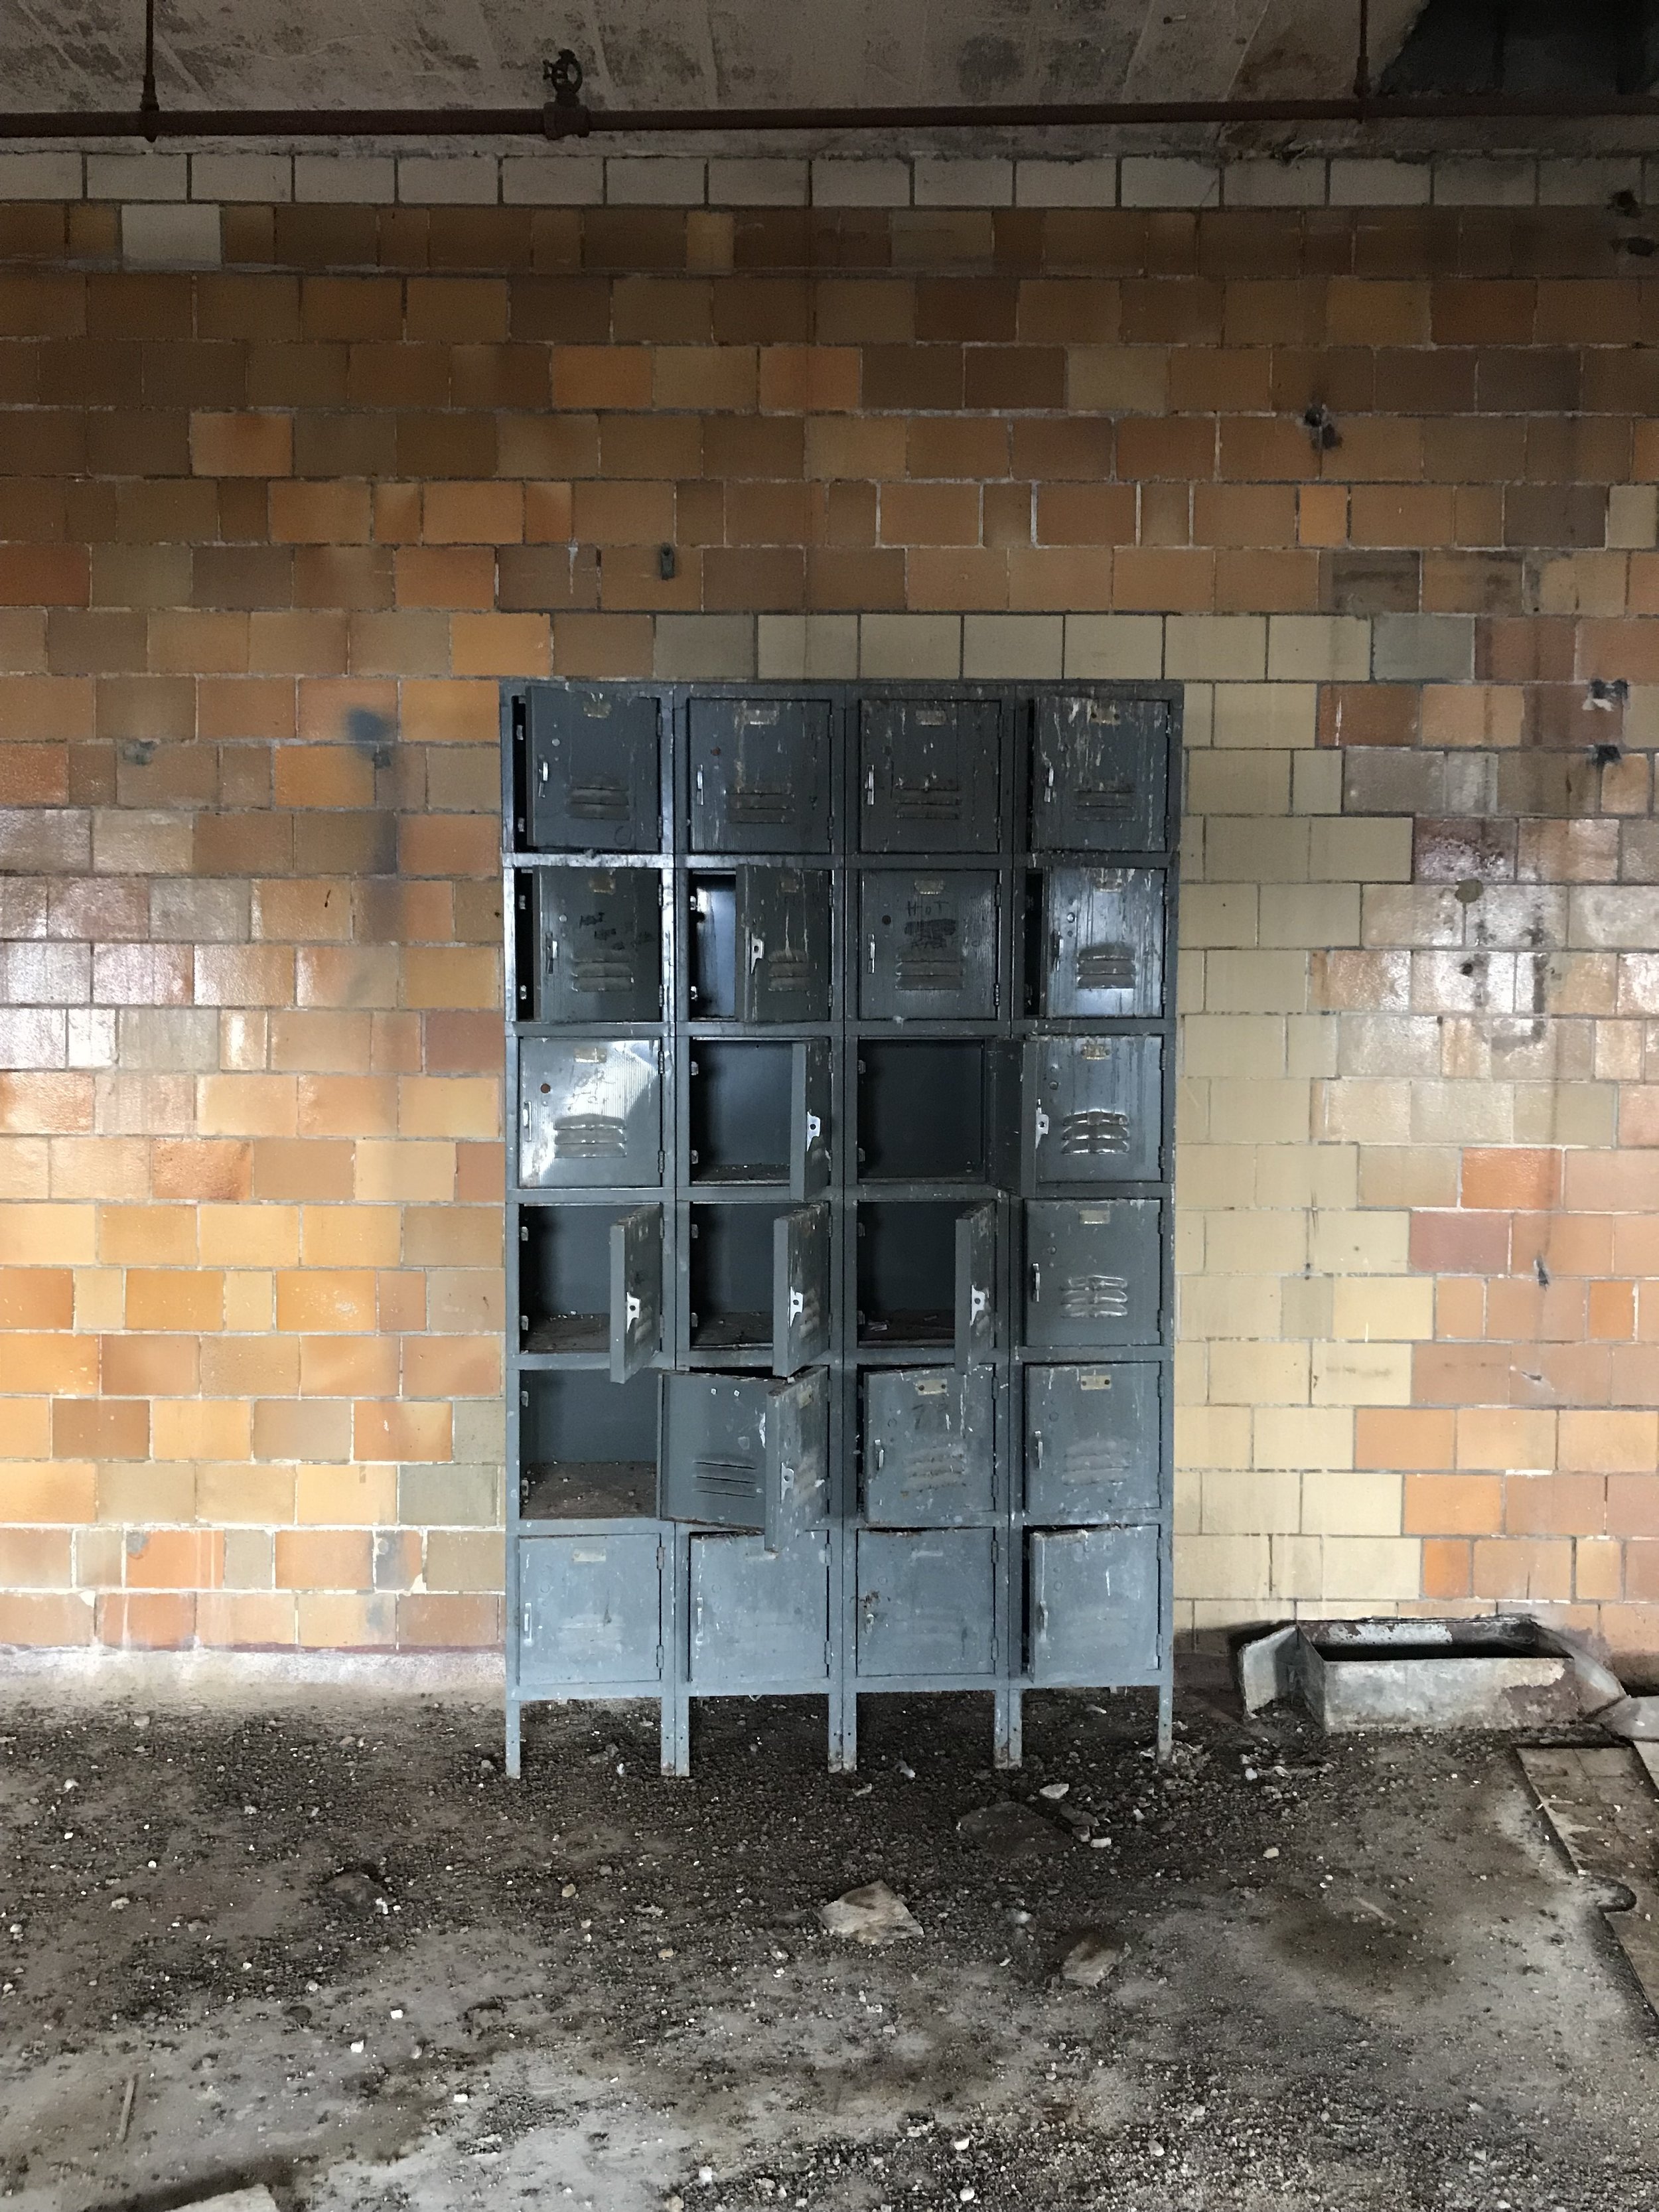
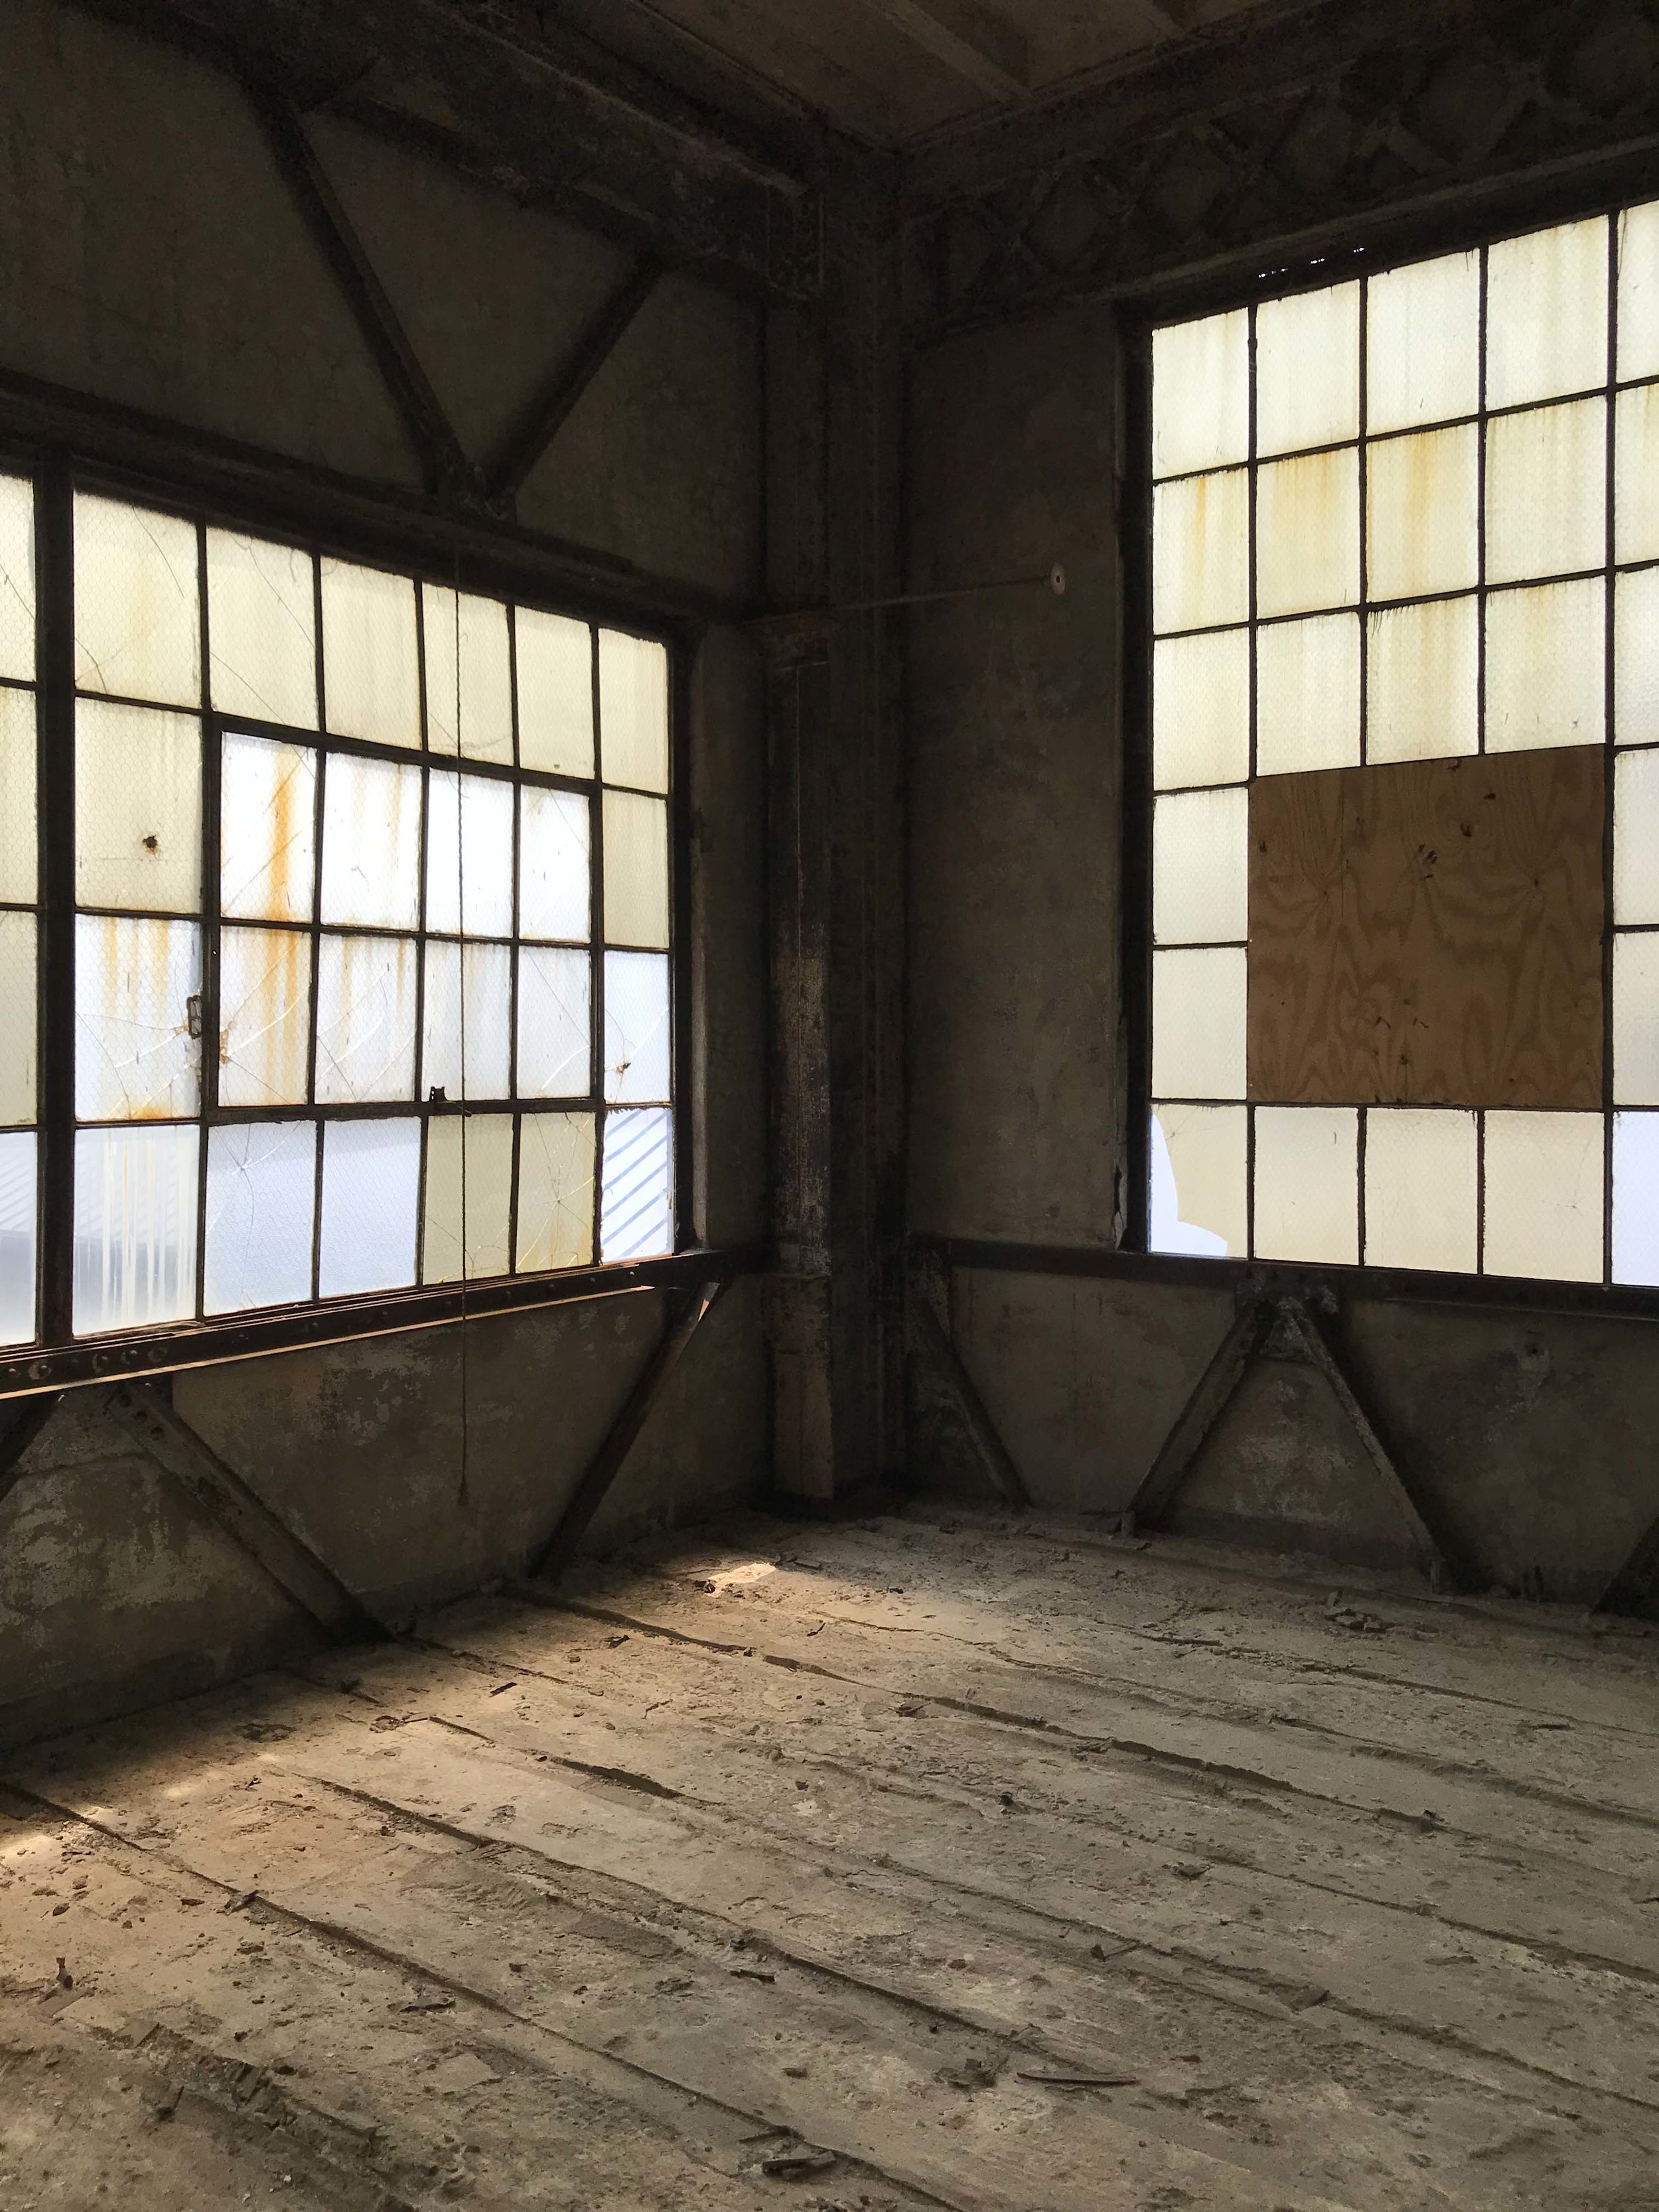
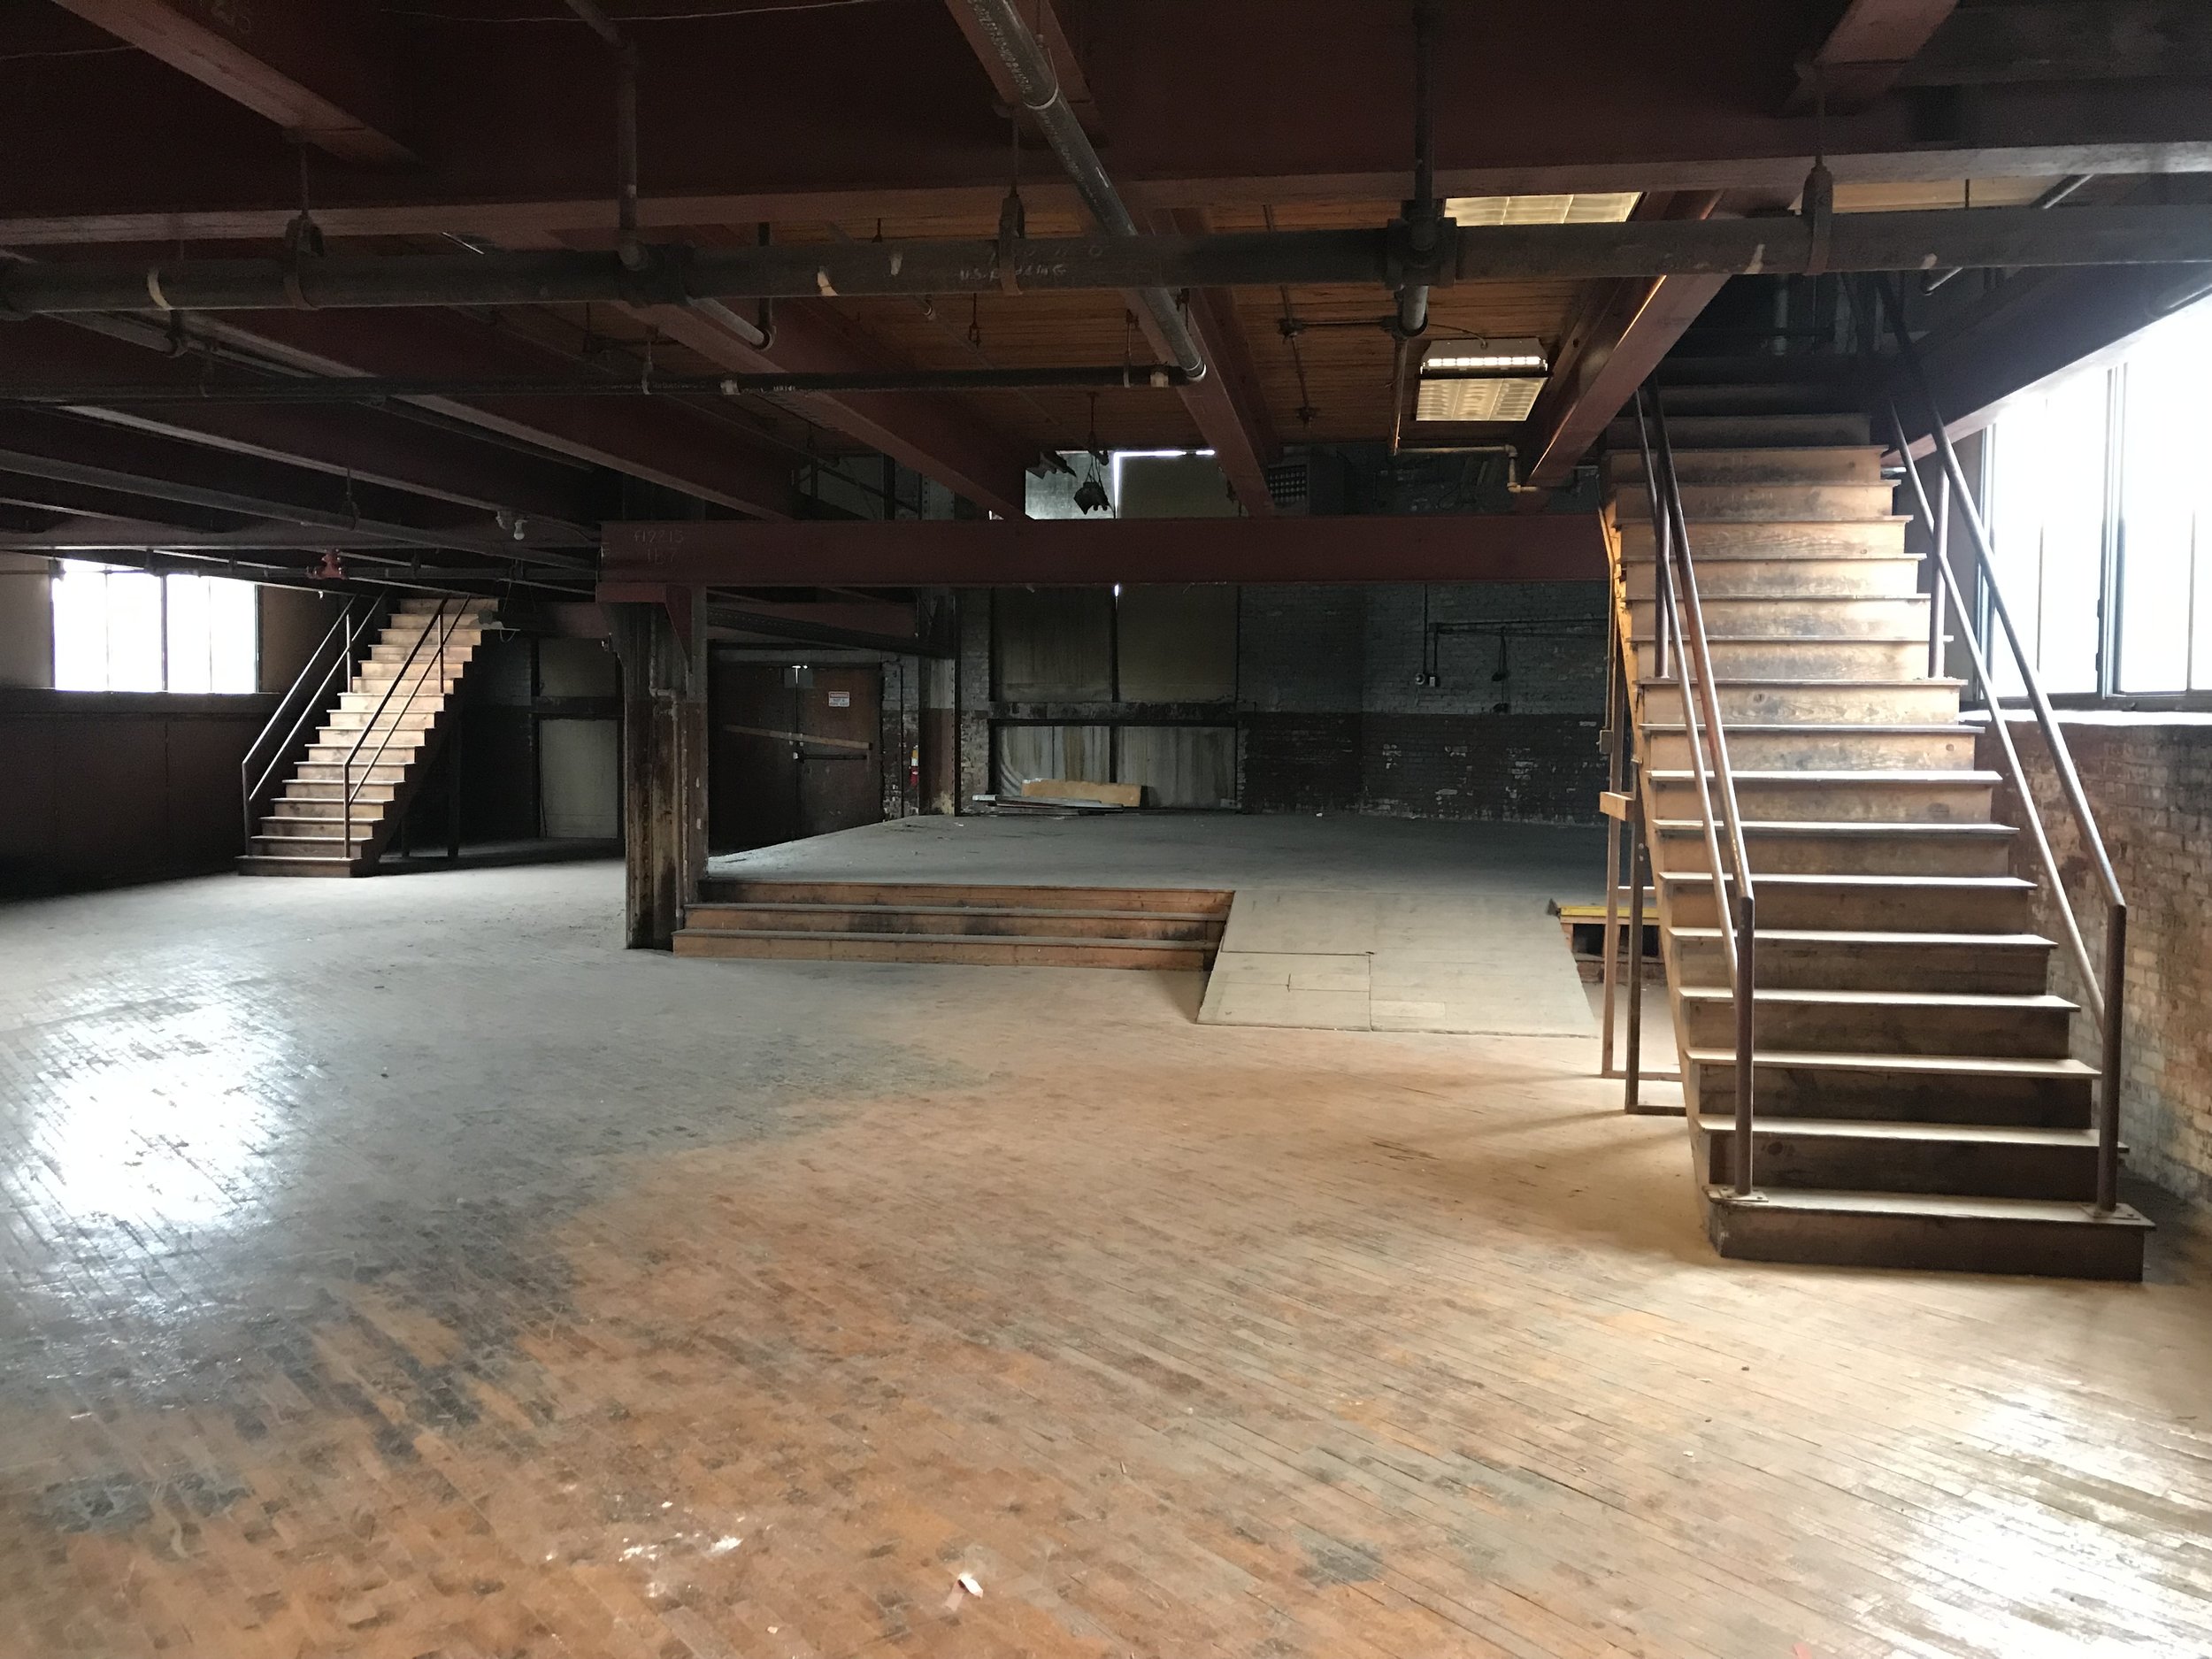
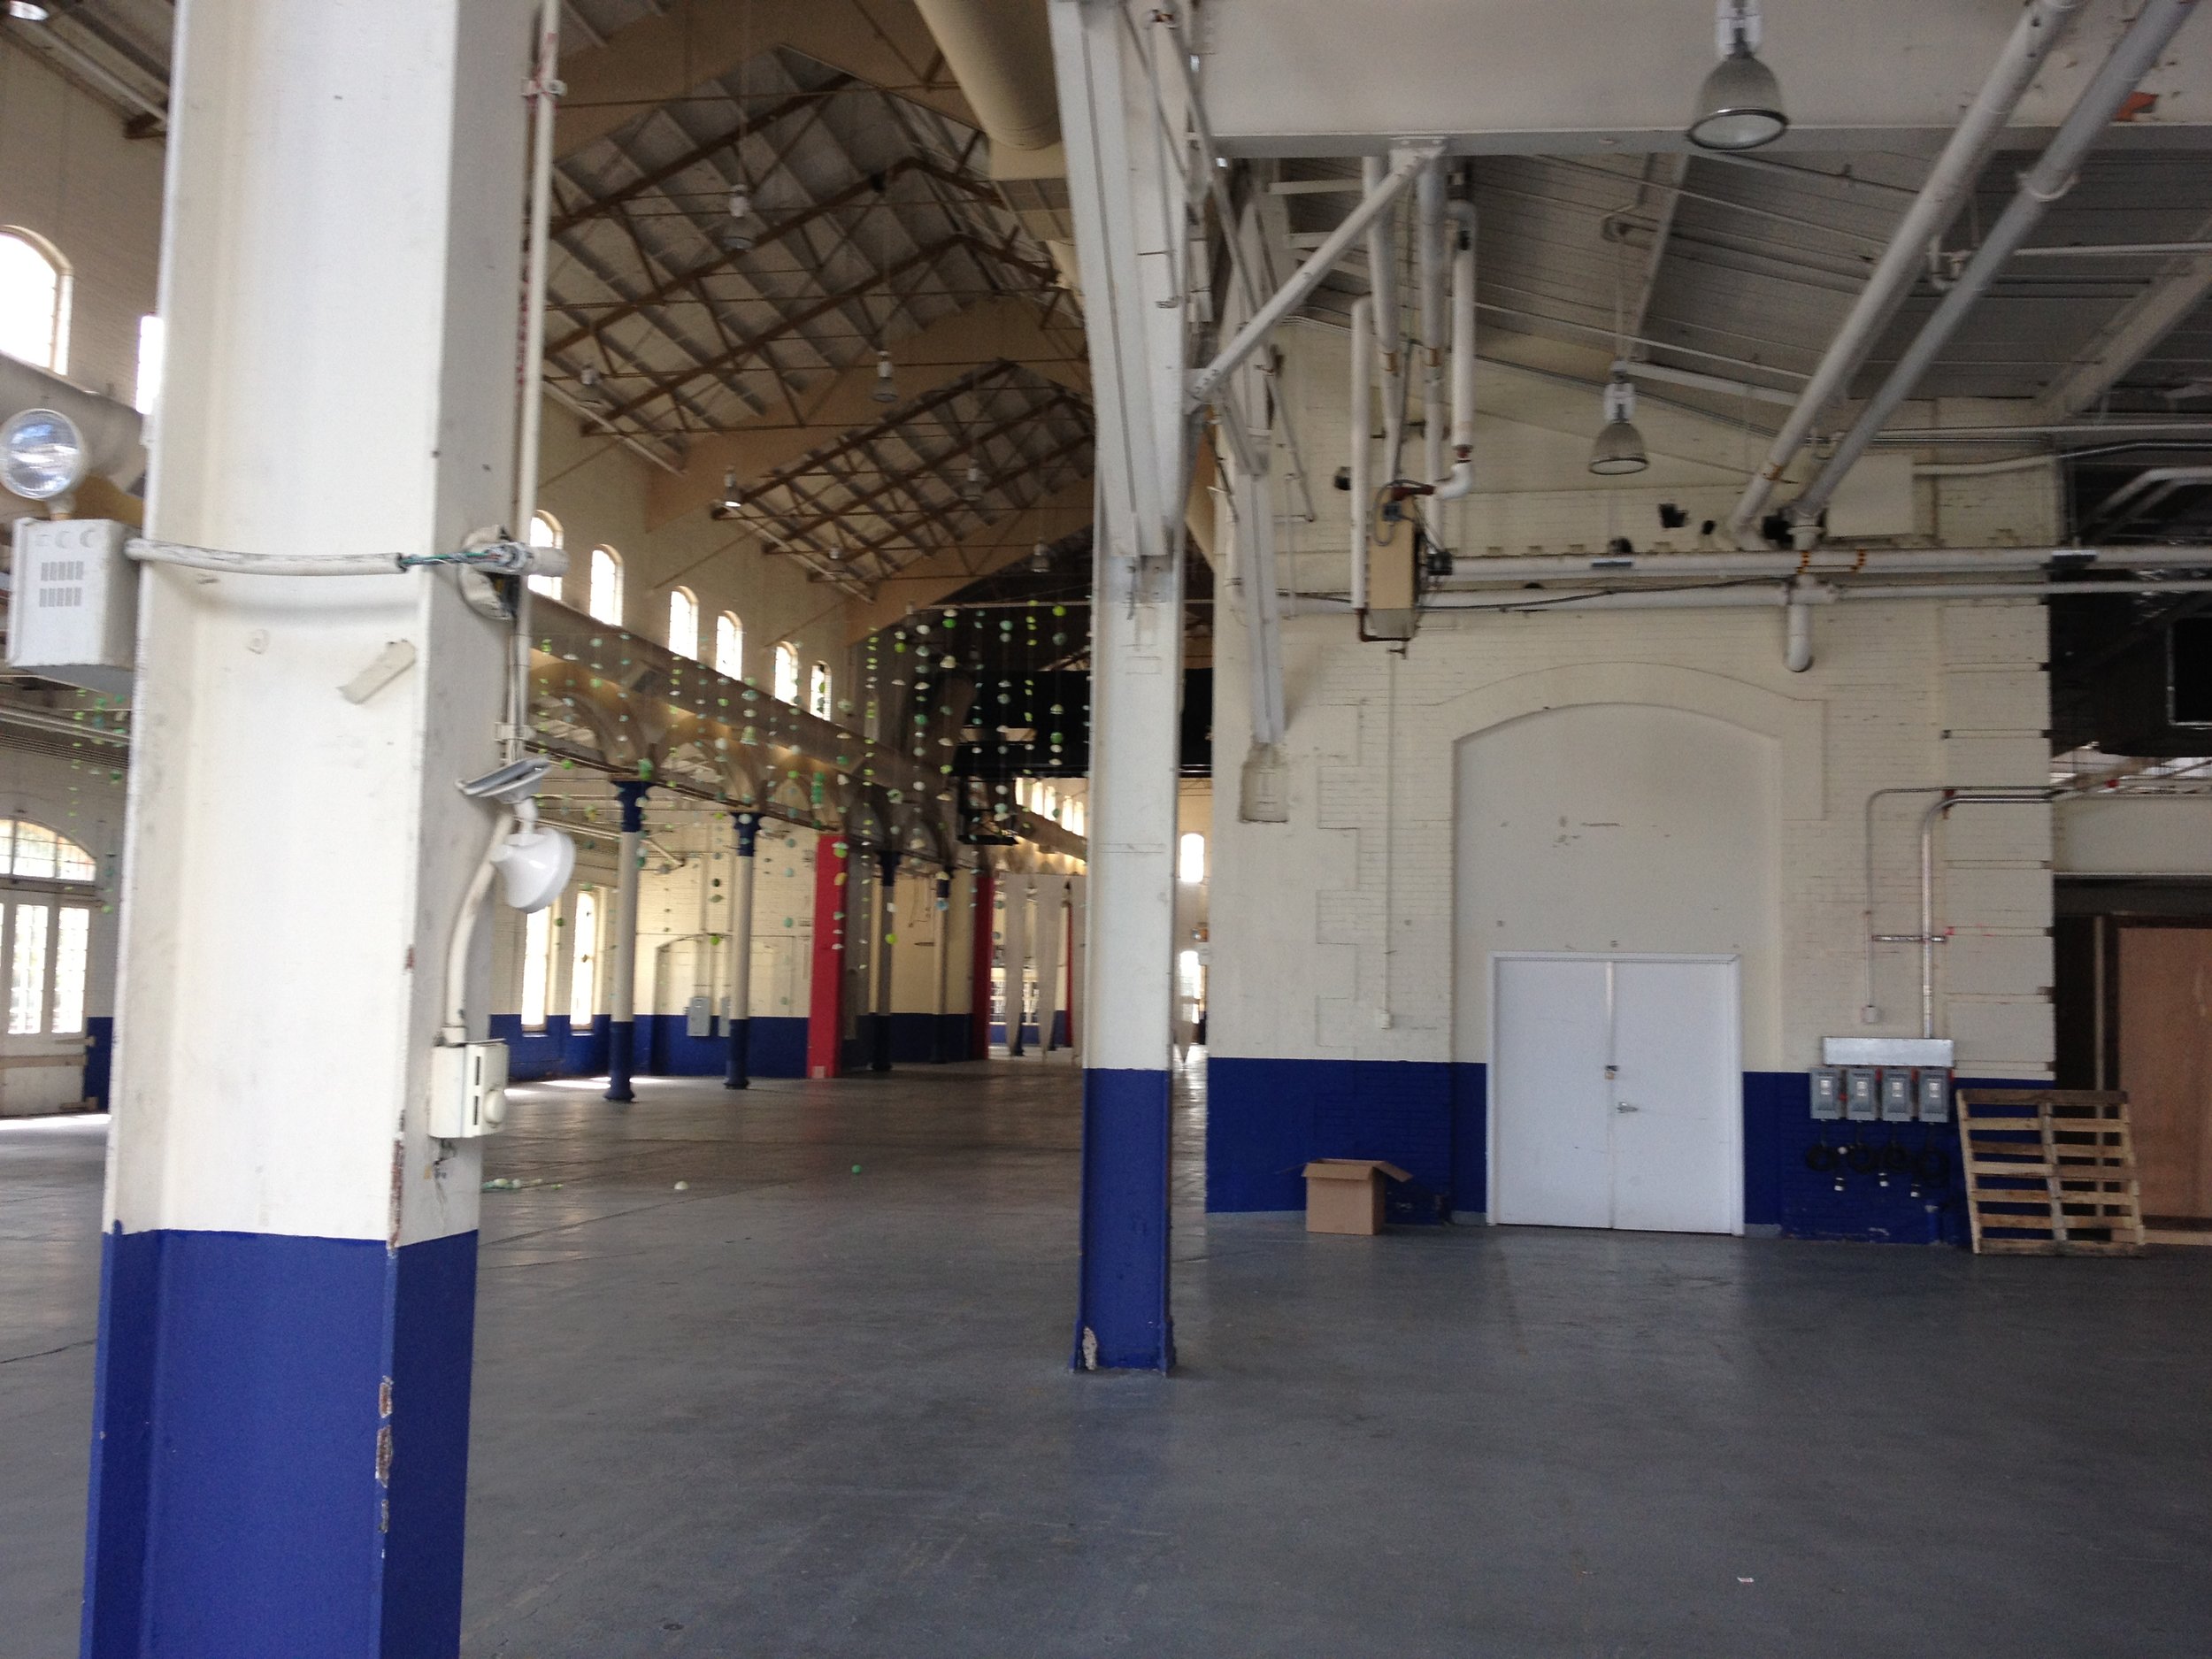
A: That massive building has some history. I loved learning about the history of the space and why it is the way it is, looking at the old pictures and drawings, and recreating it virtually in a model. The space is HUGE—over 600 feet long, over 100 feet wide and tall, and there are multiple pits that are multiple stories deep, where they used to put driveshafts for ships standing up vertical to work on them. Those pits have since been filled and covered over.

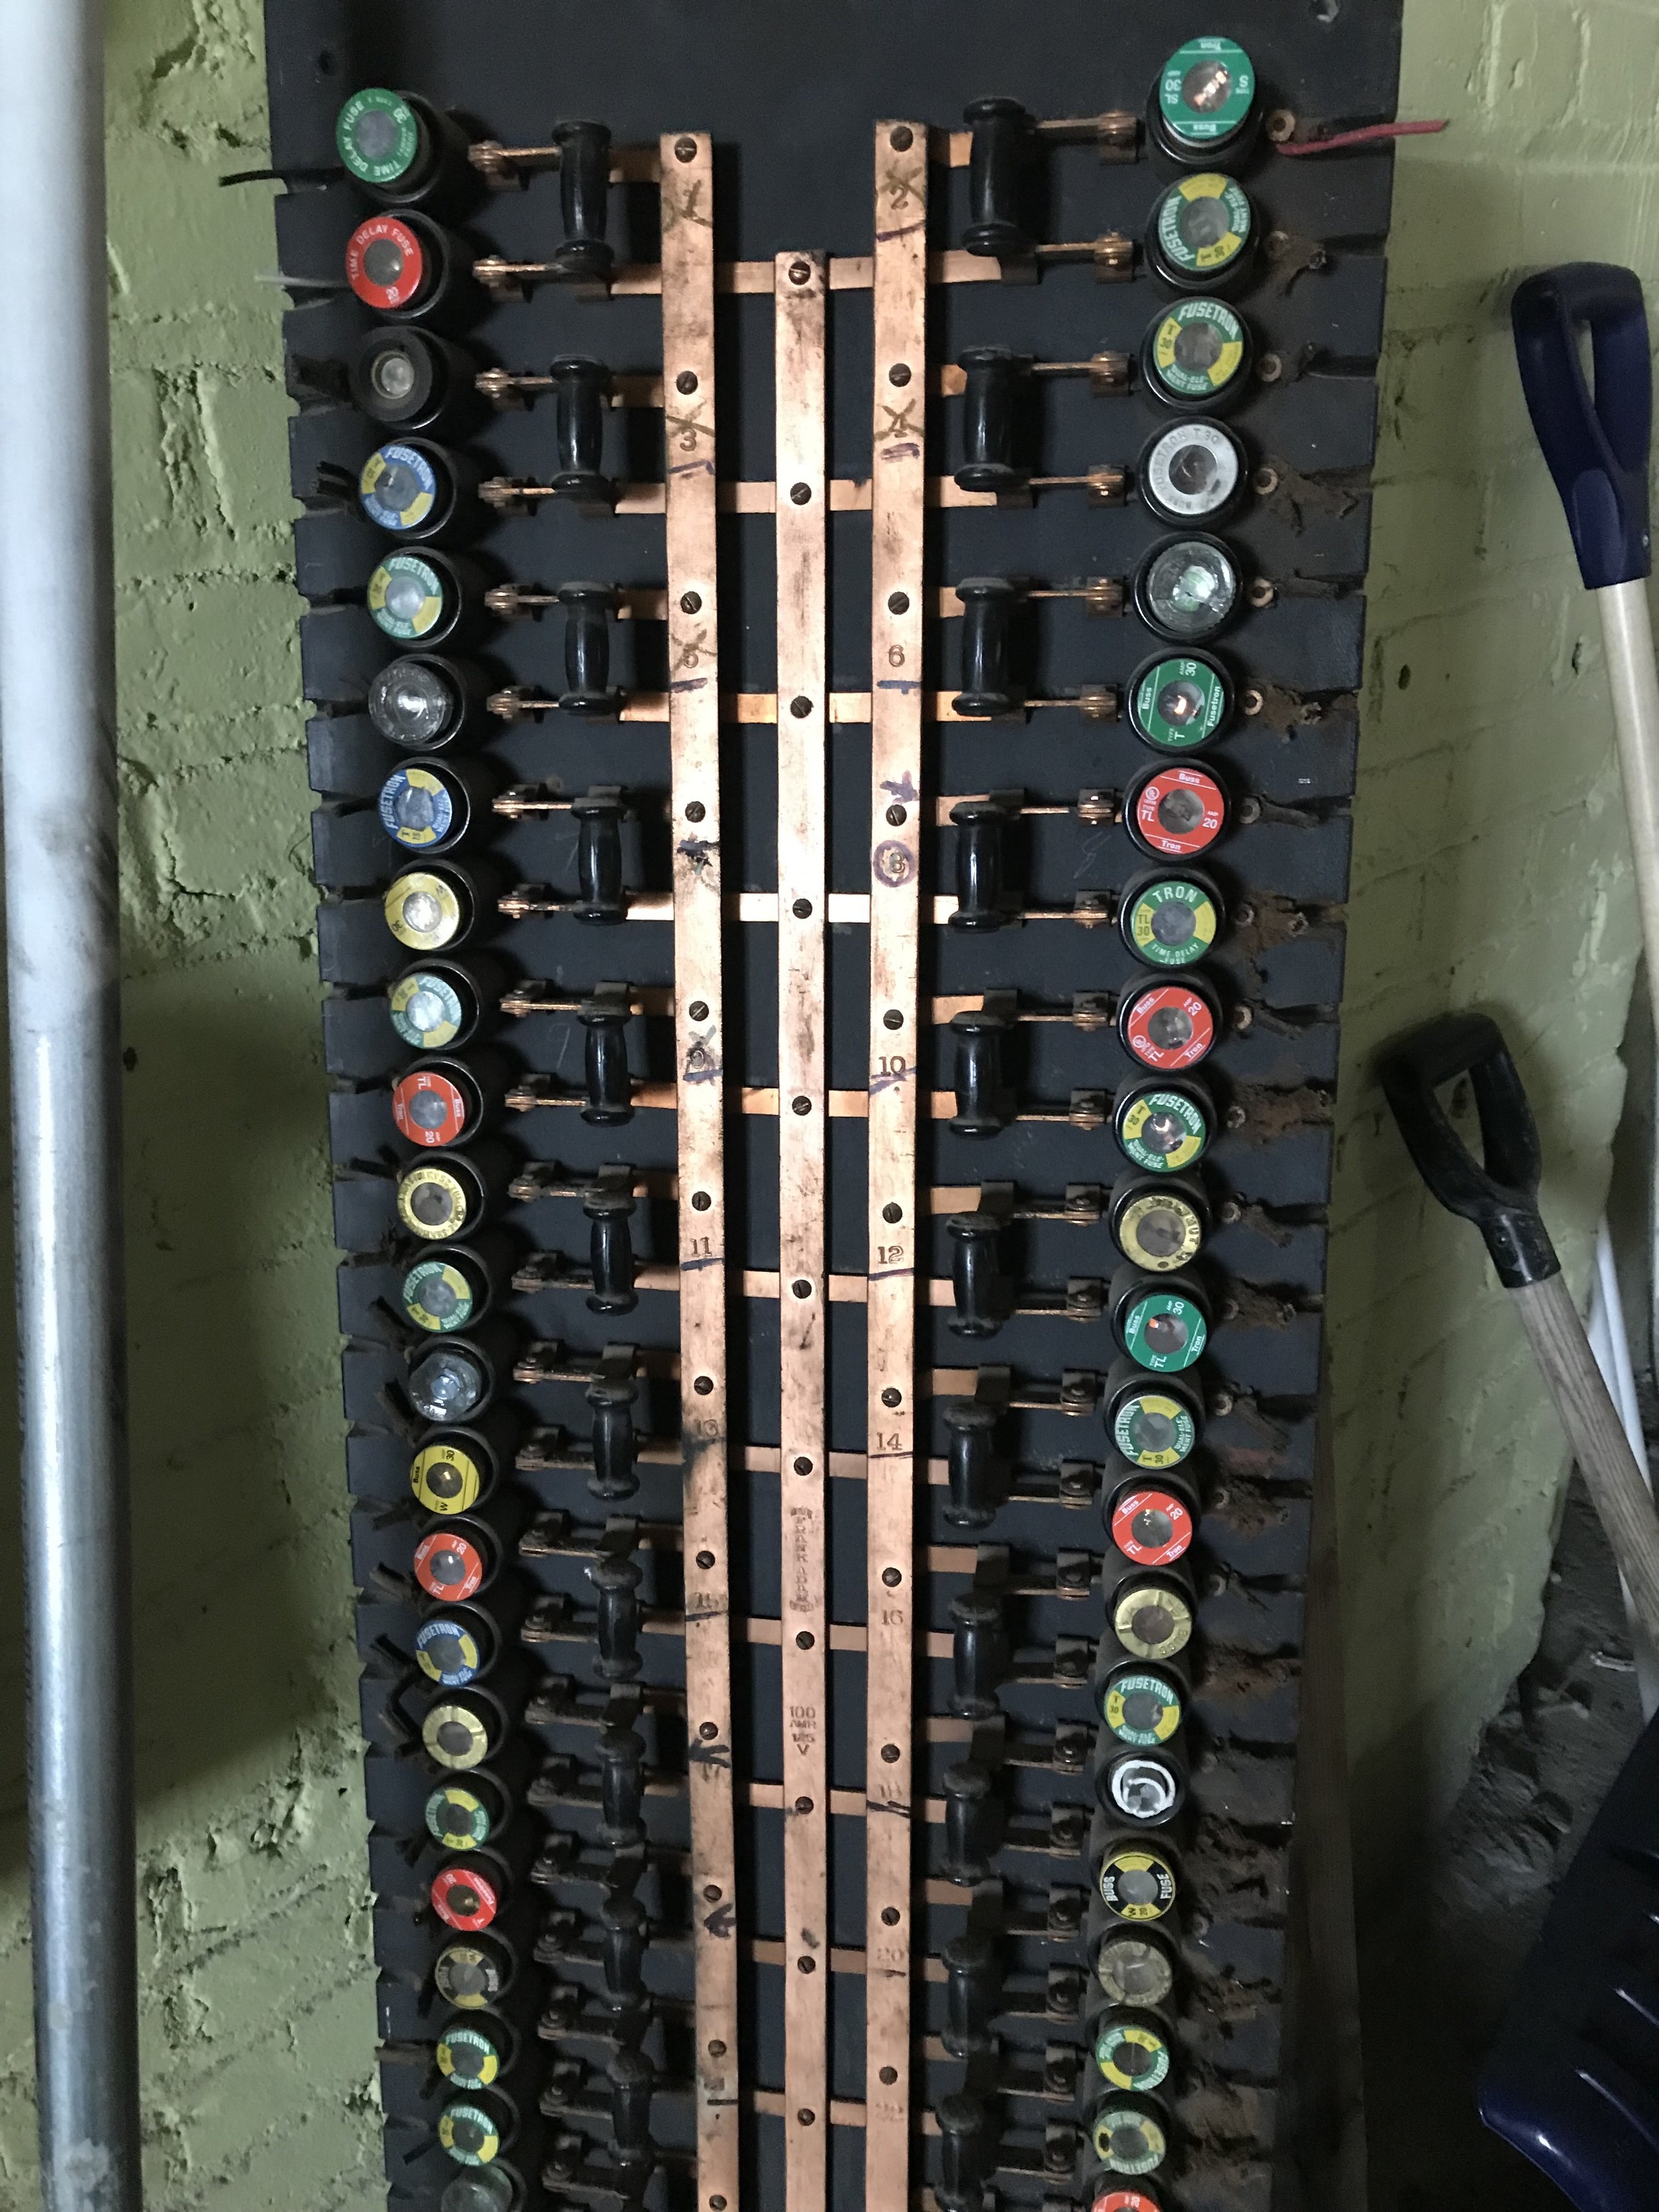
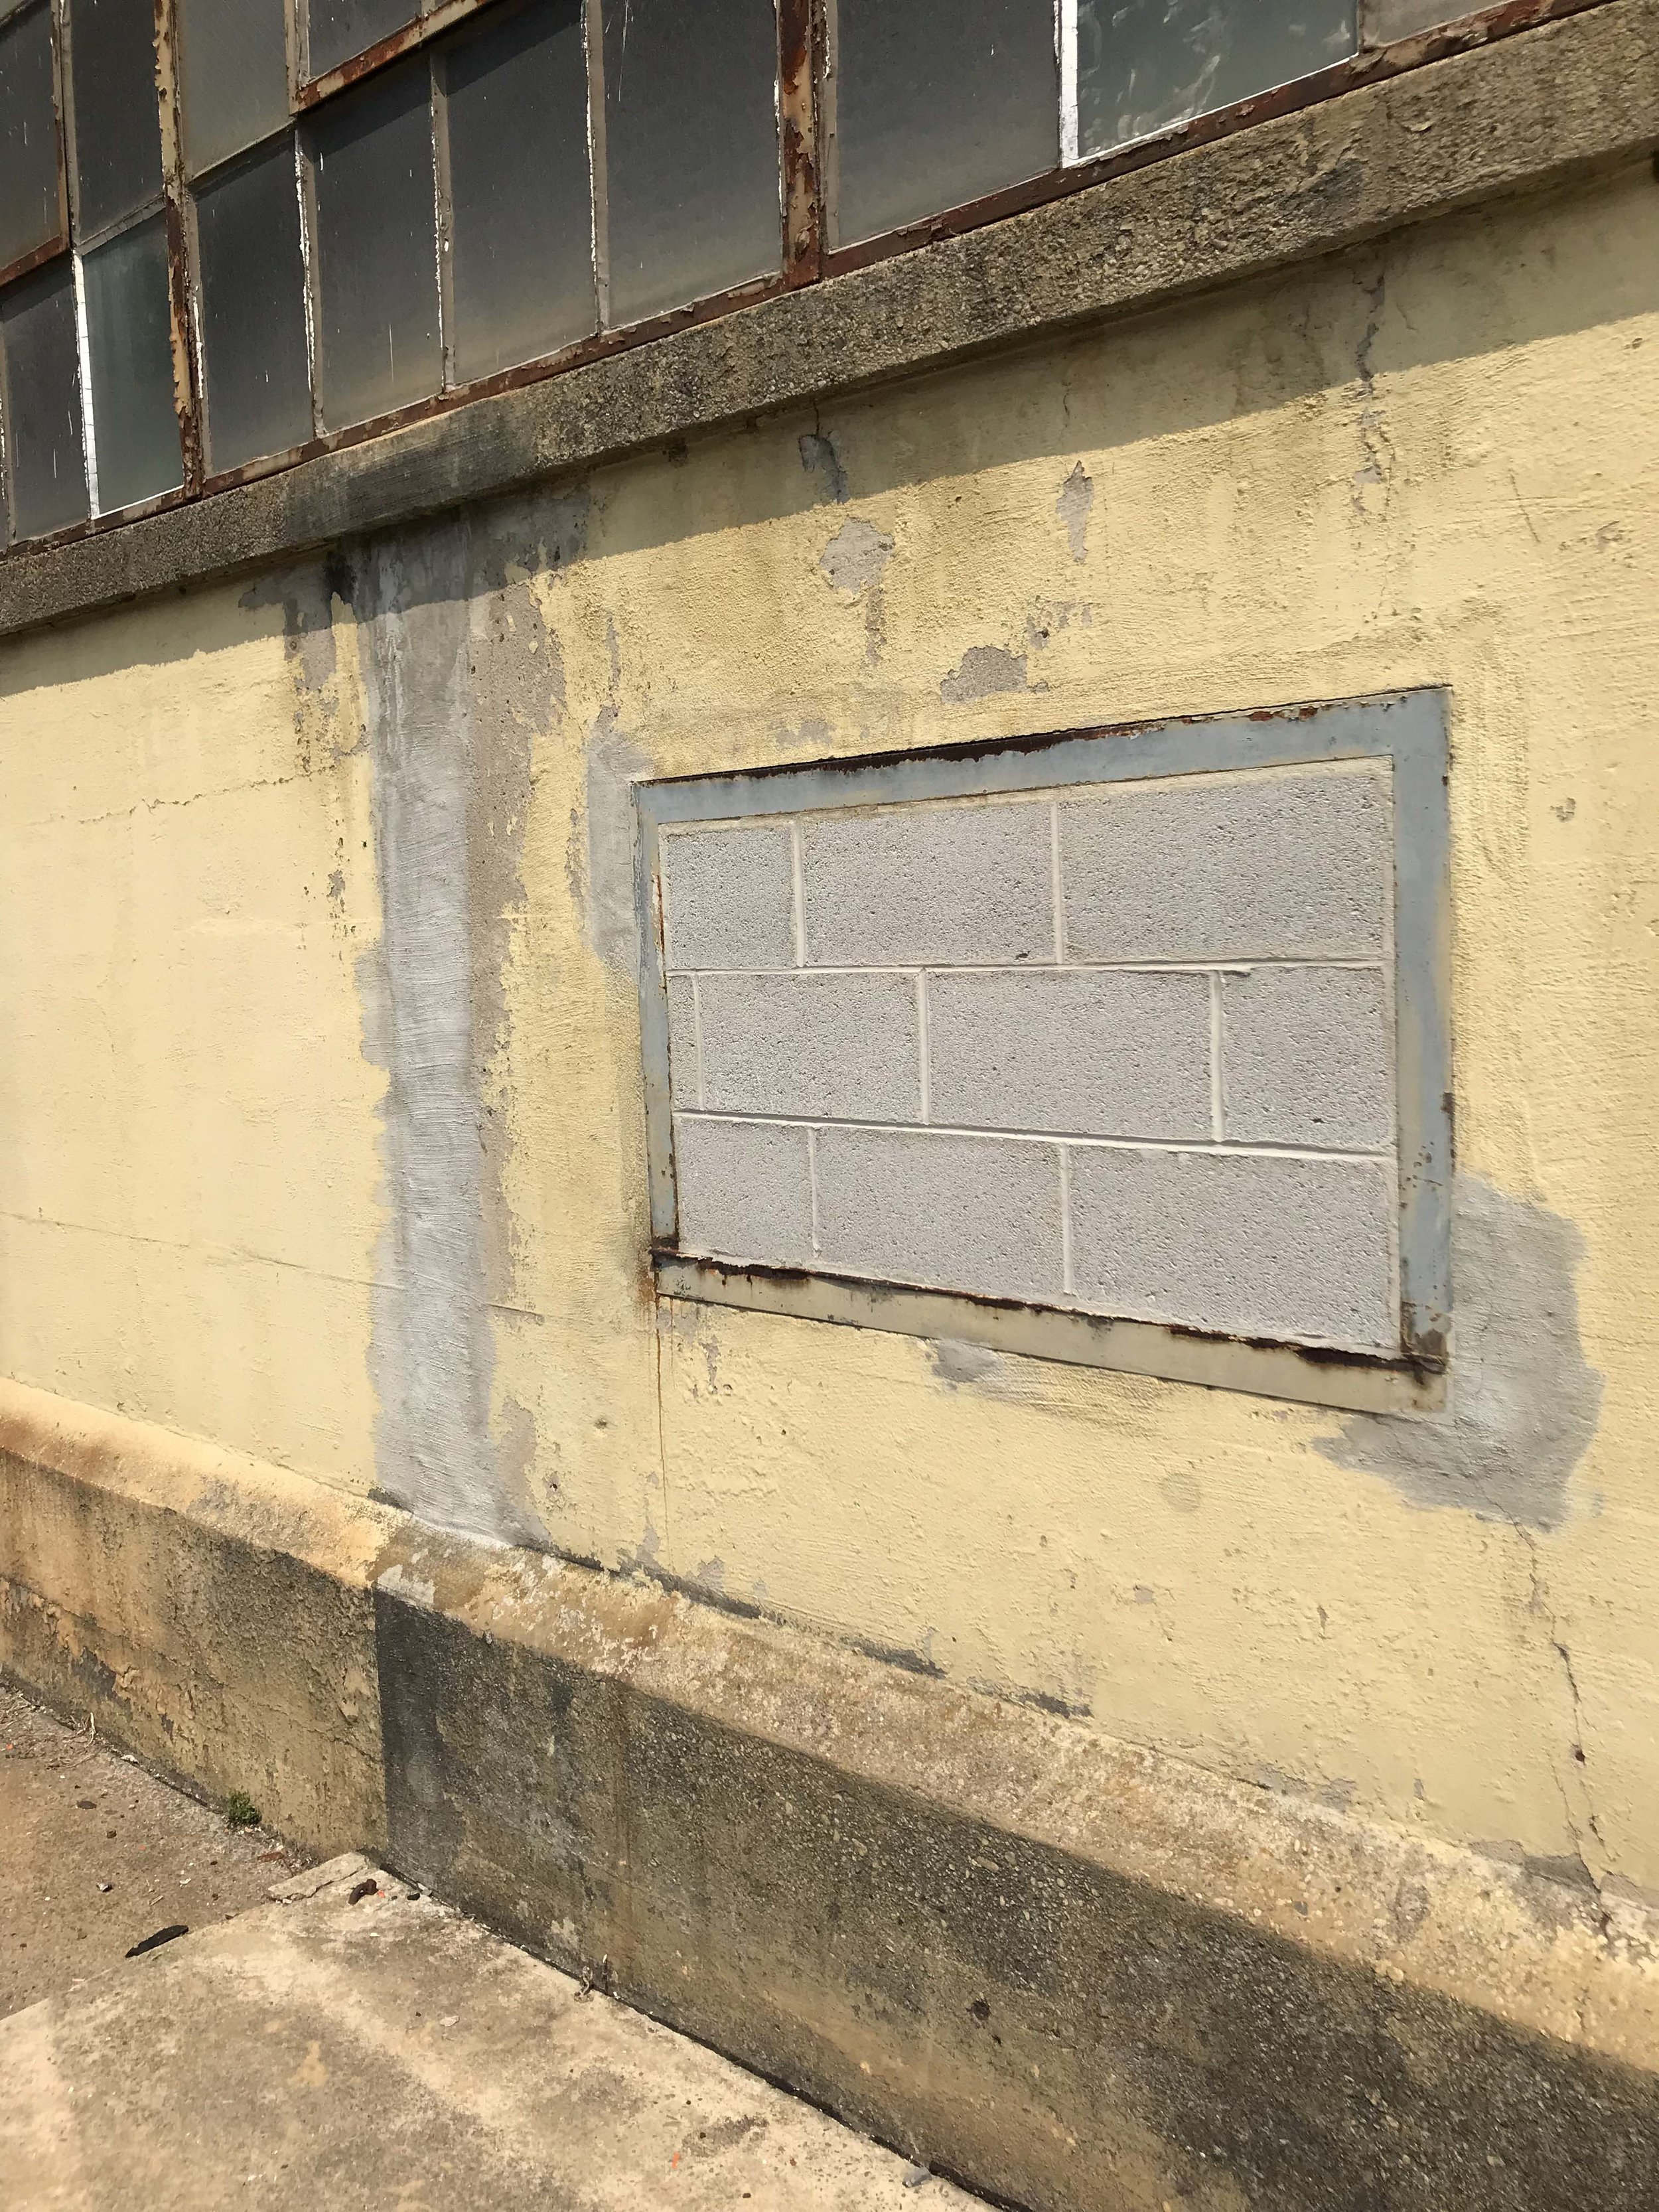
There’s also an electrical room that was demolished, which has a room below it that is inaccessible because it’s full of water! The original building was half its current length and built in 1917 without any flashing at any of the window penetrations. At least they did figure out to put flashing in when they built an addition in 1938, but it was a little too late, as there was already a lot of rust jacking going on. (Rust jacking is when rust causes metal to expand so much that it pushes on whatever it is next to, causing cracks and separation.) I could go on and on about this place, there is just so much there.

Read more about Dave and other members of our team.

“Frits,” The Behemoth Door

The bottom, fully-mortised pivot hinge straight from the Netherlands. Manufactured by FritsJurgens and a fitting name for a door. The hinges and hardware were all mortised into built-up hardwood blanks.

Upon joining the team at NewStudio, one of the tasks on my to-do list was to construct and install a front door.

Let me clarify: NewStudio’s Saint Paul office is in a 100-plus-year-old, timber-framed, former industrial building. Most of the build-out was designed, fabricated, and installed by my co-workers. Pretty cool, right? When I arrived in September, the project was nearly finished. Amongst other things, trim had been trimmed, the hole in the floor had been cut, a stair had been installed, and a big glass wall had been placed. The office’s front entry was one of the few items that remained to be completed. 

“Frits” fully biscuited and clamped up. 1/8” Baltic birch ply was contact cemented to the solid core door body to add some stiffness to the joints. Ply is then painted black to prepare for redwood finishing.

When I interviewed at NewStudio, I didn't give much thought to the regular-sized, regular-framed temporary door in the entry’s glass wall. I remember saying in my interview that I liked building things, and that I appreciated the process of thinking through designs by making them. I believe my remark was along the lines of “it’s astonishing what you can learn by putting something together.” Someone took note of that statement.

Ideas about the final door had been floating around the office for months. I inherited some sketches, spec sheets, and concepts. With help, I thought through aesthetic decisions, technical details, and specialty hardware. I measured and modeled. Each choice I made seemed to present more questions, and these new questions were also considered. Pieces were ordered, big-box stores were visited, and a generous pile of door materials formed. All that was left was to construct a very formidable, very massive entry door that would definitely make an impression. It wasn’t easy.

Reclaimed redwood siding was ripped down into 1/8” slats for the laminated to the door body for the finish faces of the door.

“I have a newfound respect for the industrially manufactured door,” I mentioned during a team meeting. “Or,” Sean replied, “you have a newfound respect for custom work.” I won’t subject you to the list of specific difficulties associated with scratch building and installing a 300-pound, 4-foot by 10-foot door (rest assured that these difficulties were many and varied). What is worth noting is that the process of thinking through a design by making the design forced an integrated process of planning and adaptation that, in hindsight, nicely encapsulates any good design process.   

Redwood slats are laminated to edge faces of “Frits”. Once the glue is set, we hang a door!

Sean was correct: I now have a higher level of respect for custom design work. While there were moments of difficulty to accompany moments of clarity during the design process, the finished product is elegant, clean, and clear in utility and form. In this one design problem I learned about simple construction, load transfers, remote-entry systems, pivot hinges, mortised handsets, thresholds, egress, steel working, and solid-core door construction. I also learned about the process of designing well: plan, adapt, and repeat.

NewStudio staff peek around the front door of the office.